ASRock Z97 OC Formula Motherboard Review: Less Lamborghini, More Yellow
by Ian Cutress on October 2, 2014 10:00 AM EST- Posted in
- Motherboards
- ASRock
- Overclocking
- Z97
ASRock Z97 OC Formula BIOS
Even though we recently reviewed the ASRock X99 BIOS, the Z97 BIOS we used for this review is part-way between the Z87 and the X99 iterations. This means that we get a Full HD mode at 1920x1080, with a crystalline entity in the background and no longer the starry sky. The icons are adjusted to smaller emoji-like features, but the upgrade for X99 that Z97 did not get is the adjusted OC Tweaker menu. Here it is a run on option list that requires continuous scrolling, whereas for X99 it was split into submenus to make it easier to process.
On both the Z97 and X99 BIOS versions we lack any form of Simple Mode. First entry into the BIOS is in the Main tab that tells the user the motherboard name, BIOS version, CPU installed, CPU speed, DRAM installed and DRAM frequency. With a Simple mode and a graphical interface we could see this information in a way that is easier to present and also something that embodies an interactive graphical BIOS. ASRock is behind on this front.
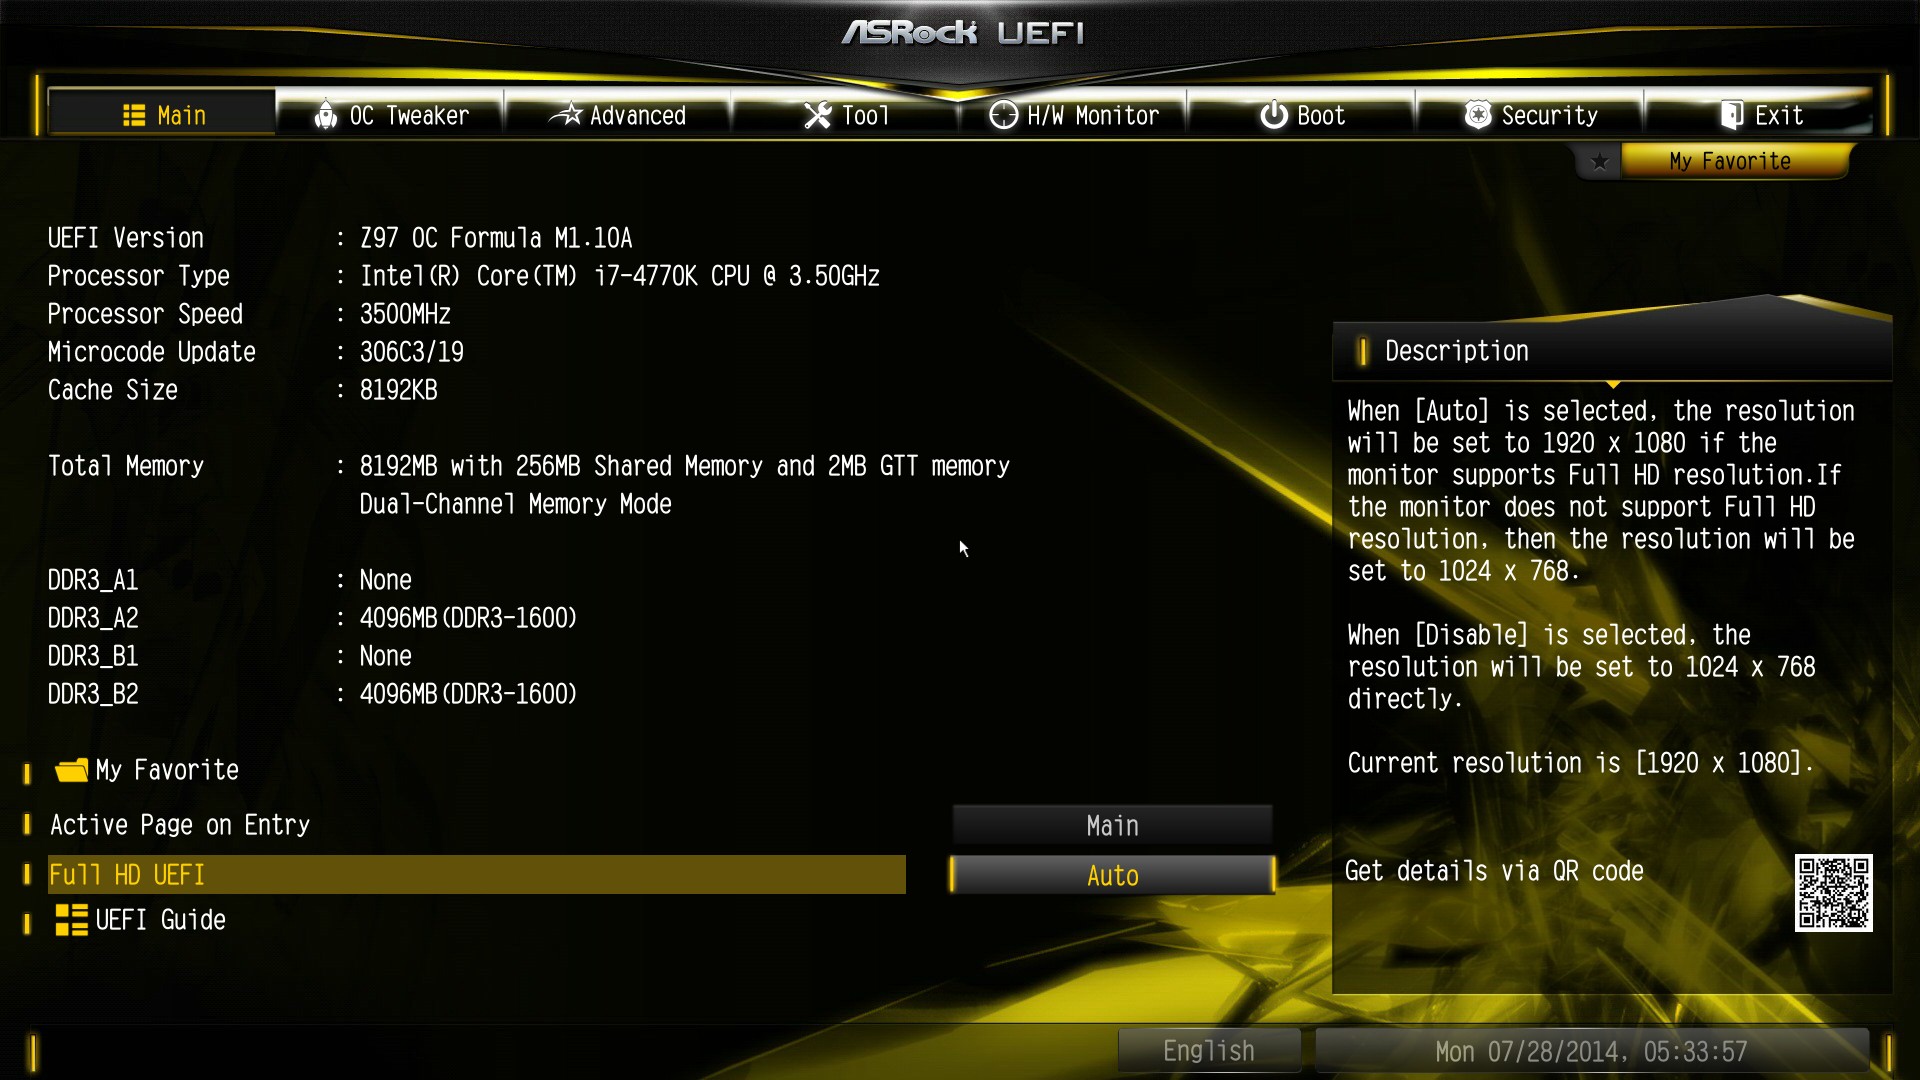
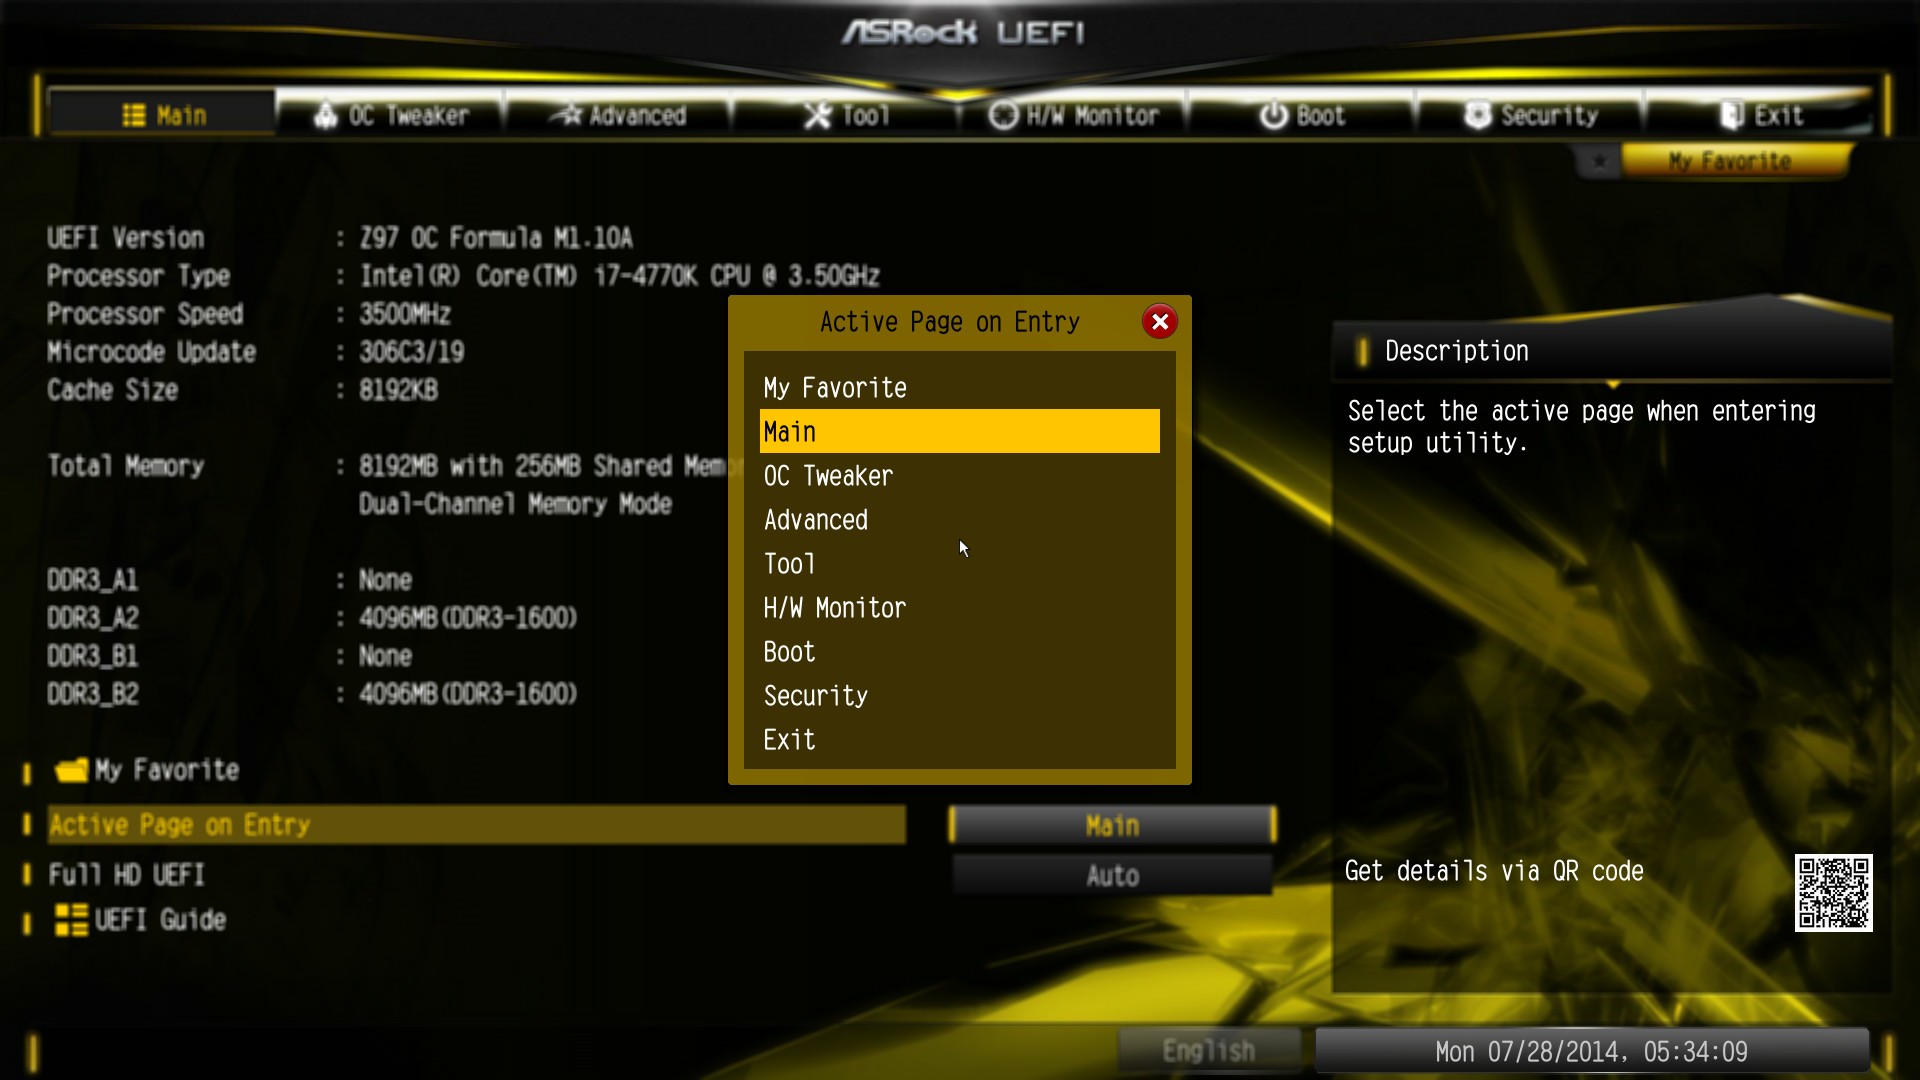
The OC Formula BIOS gets a yellow tint, and the companion shades of yellow and white make this BIOS extremely easy on the eyes. Here we get the options for Full HD mode, a guide to help the user around the BIOS as well as an Active Page selection:
The My Favorite option menu allows users to select any option from the BIOS for a custom menu. This is particularly useful for overclockers that adjust the same options across multiple reboots:
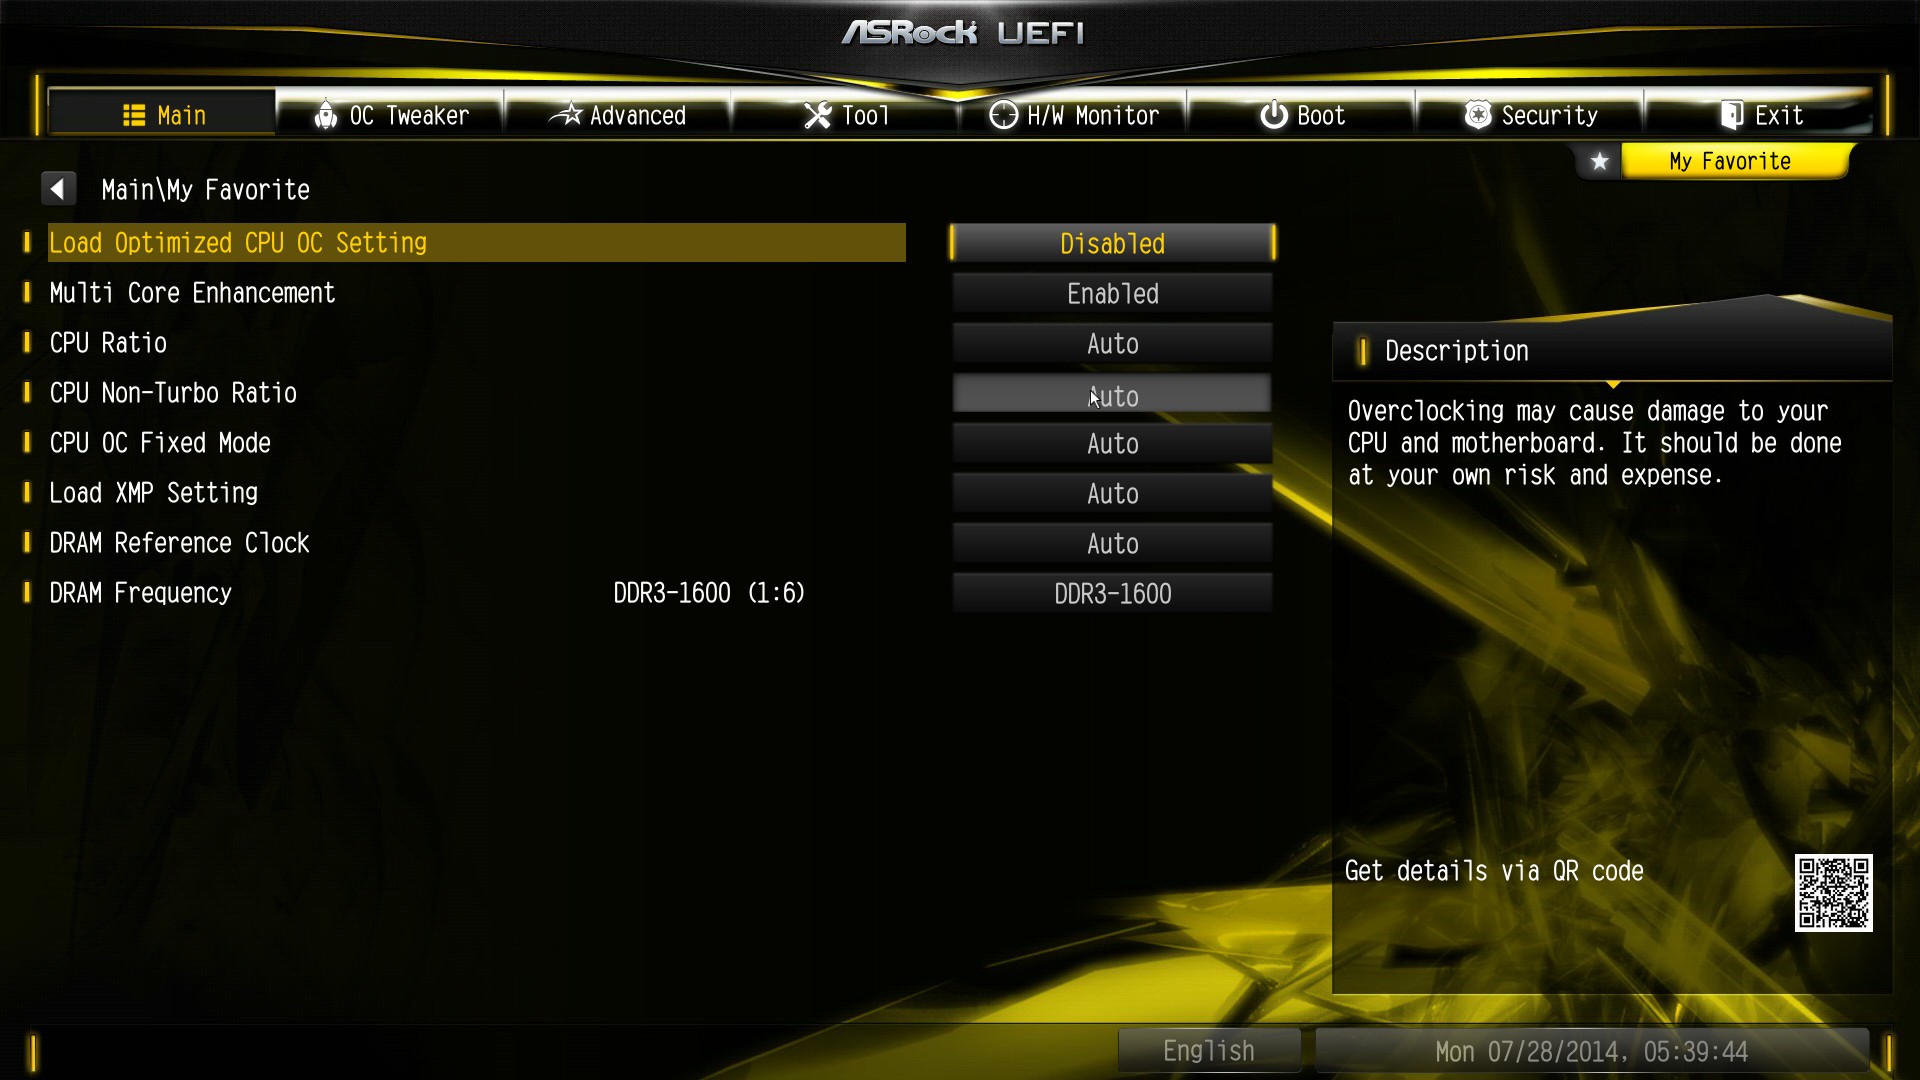
Here is a set of my most frequently used options for overclocking. ASRock has perhaps missed a trick here – using their overclocker Nick Shih he could dream up a set of options or two in line with what he uses internally.
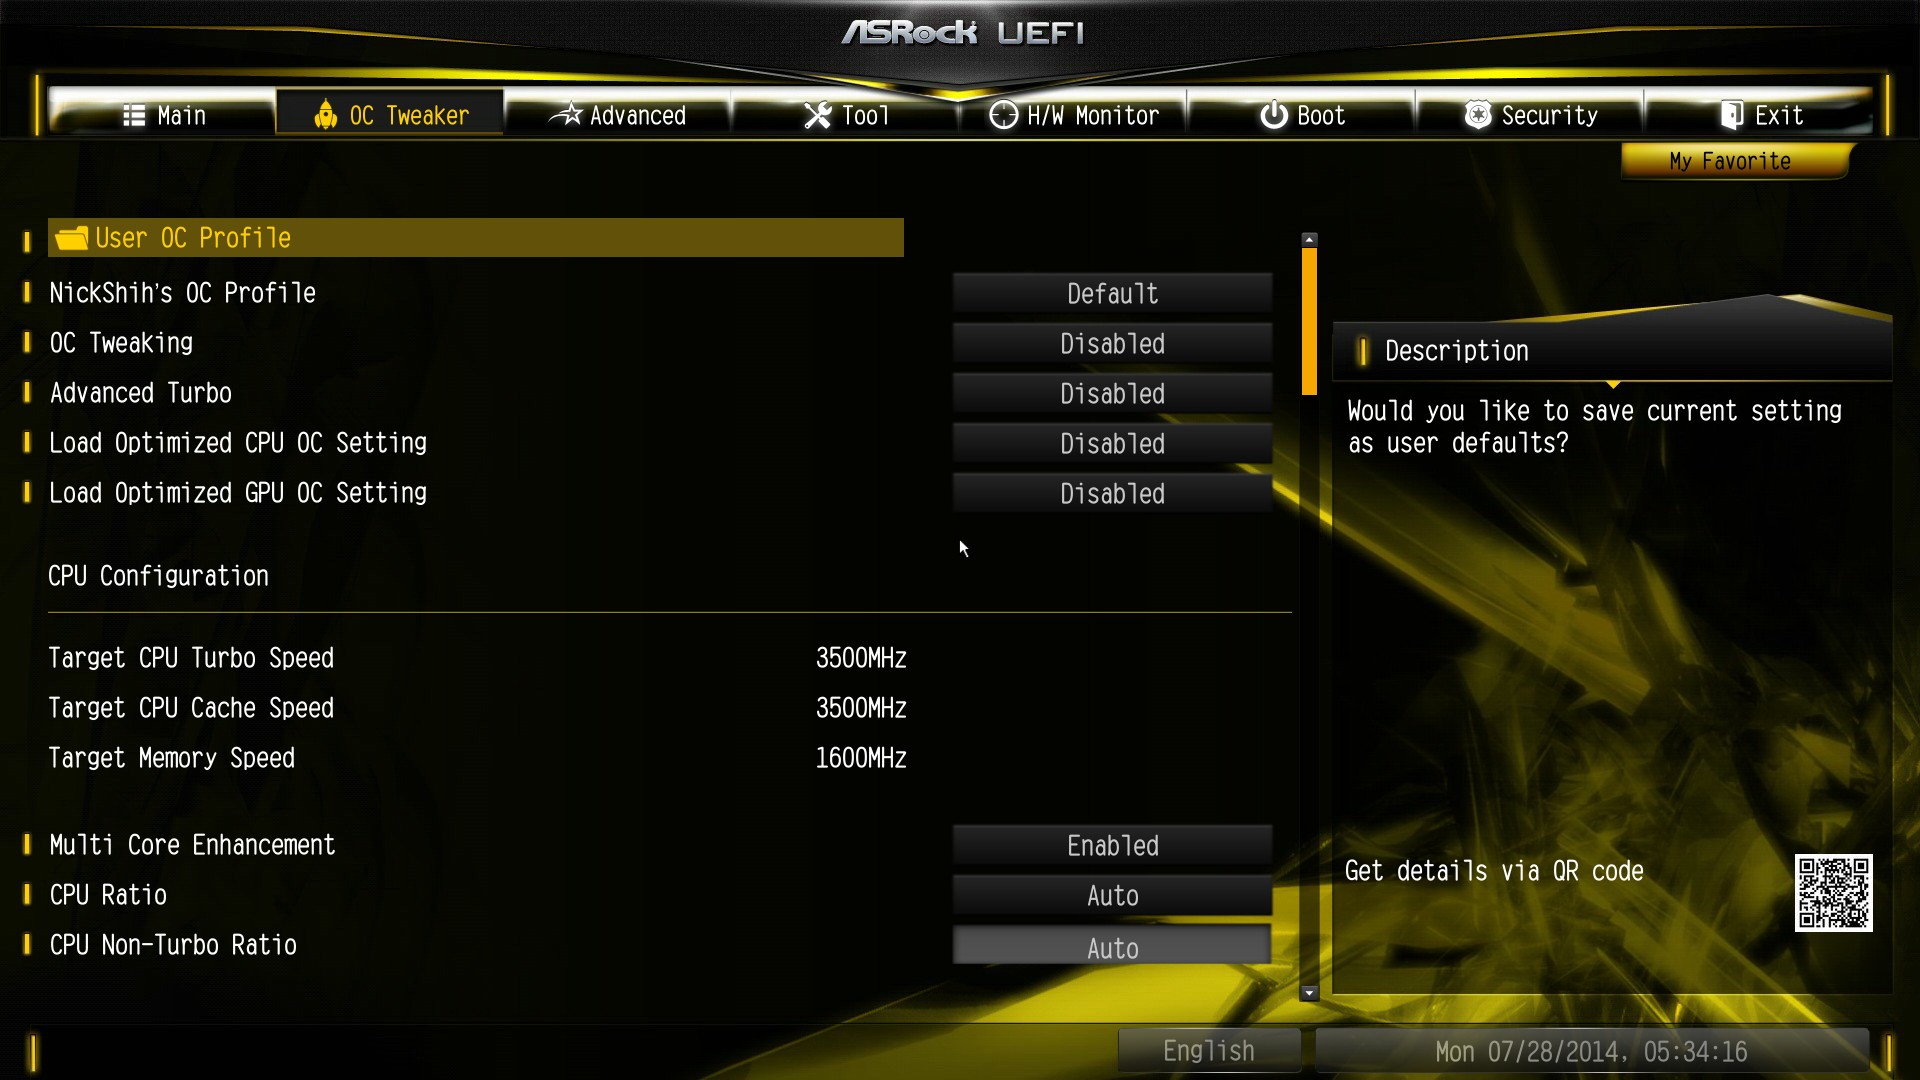
OC Tweaker is the overclocking menu, and because this is an overclocking motherboard for both 24/7 clockers and the extreme crowd, we get a series of options for both. For extreme clockers, Nick Shih has a set of options for them:
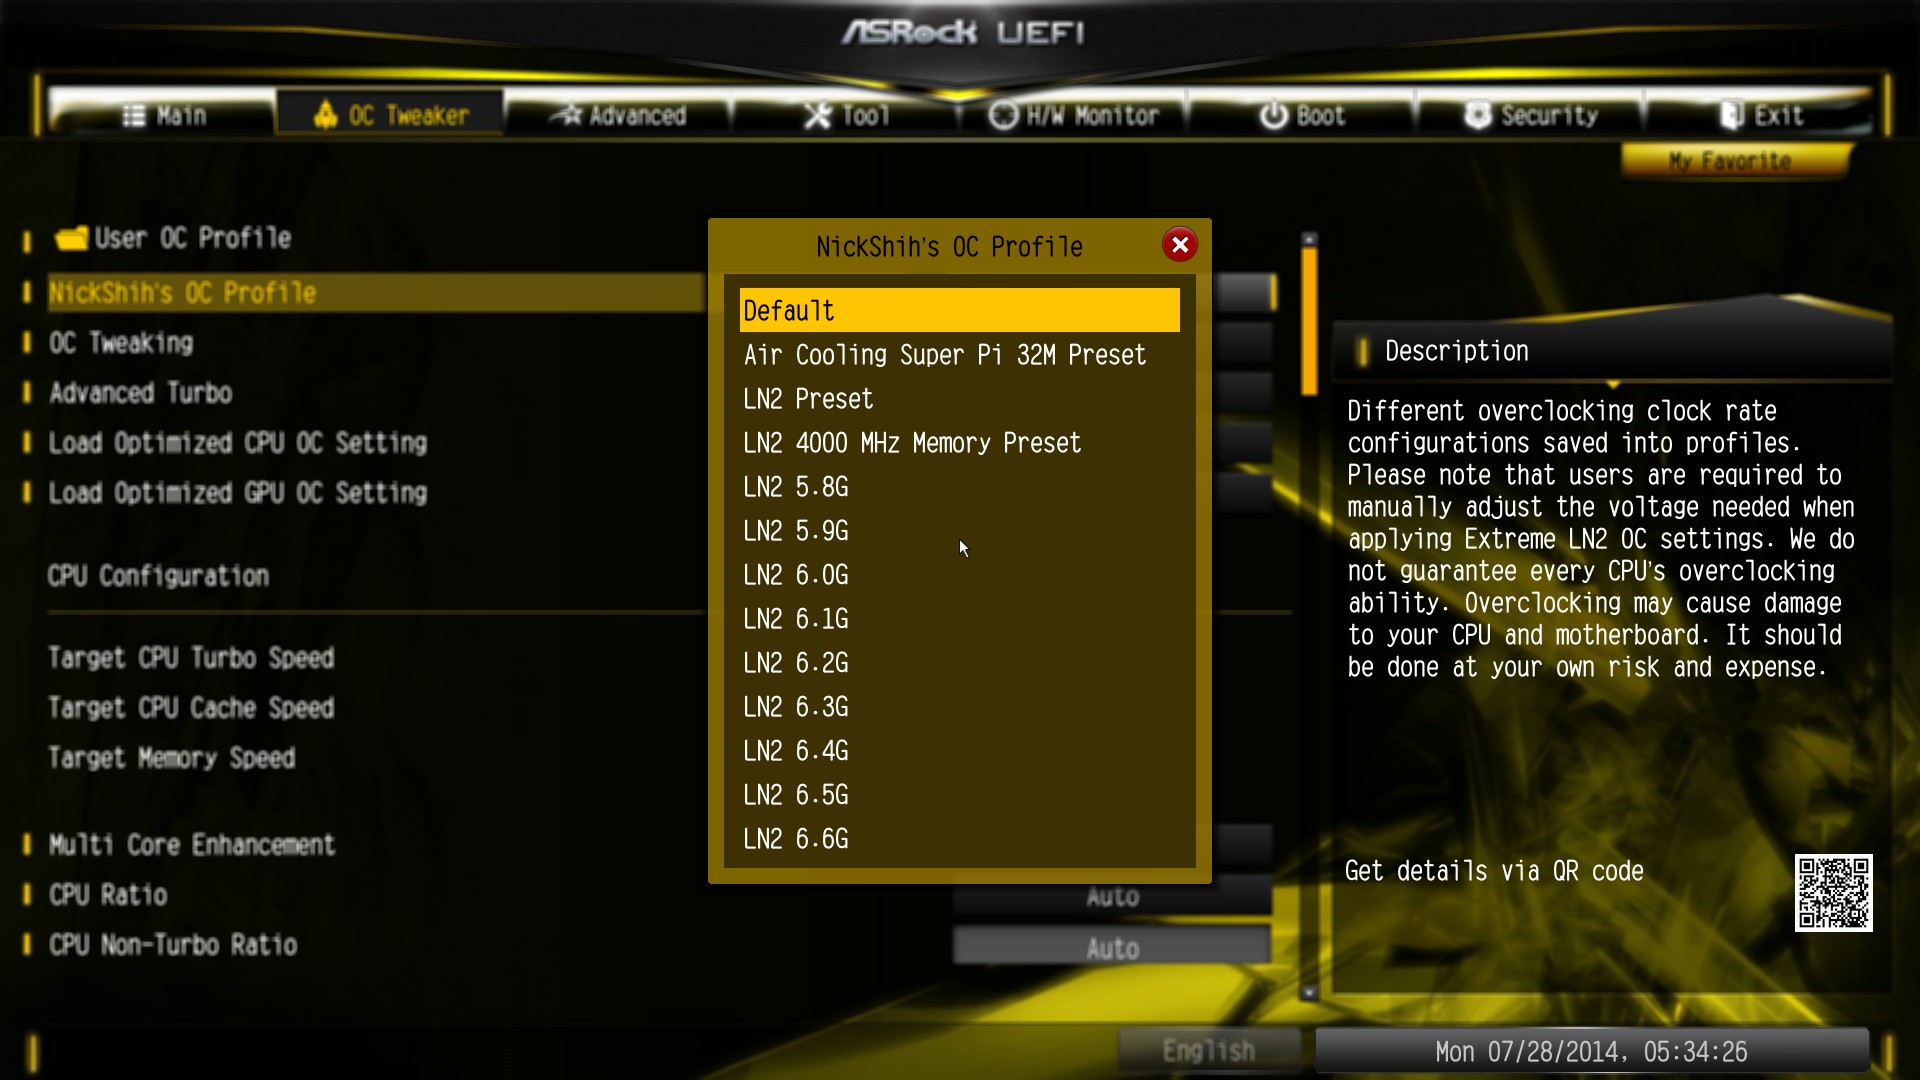
Anything listed here as LN2 means Liquid Nitrogen cooled, so perhaps not so useful for most users of this motherboard. Perhaps this menu should be hidden unless the LN2 switch has been enabled.
Also in OC Tweaker is the Optimized CPU OC Settings which is more helpful for 24/7 overclocking presets:
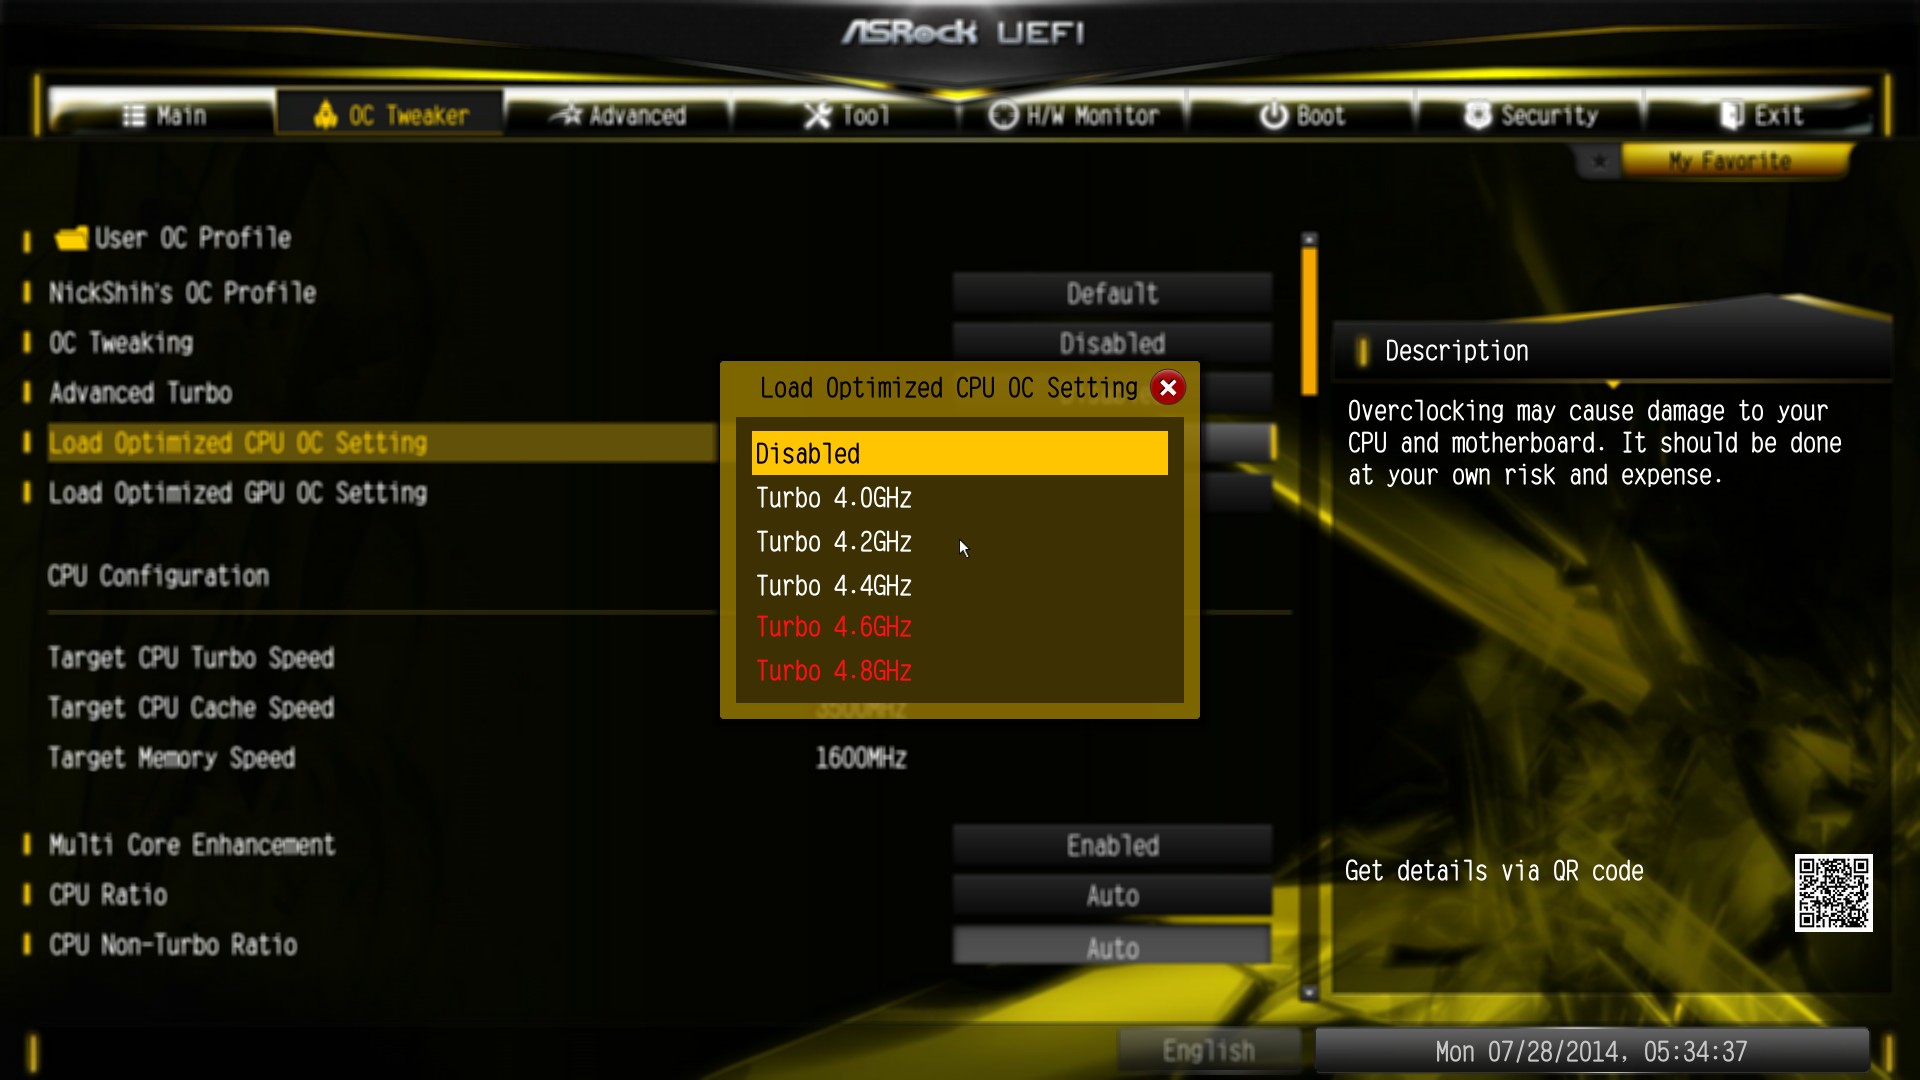
We test these options in our overclocking section later in the review.
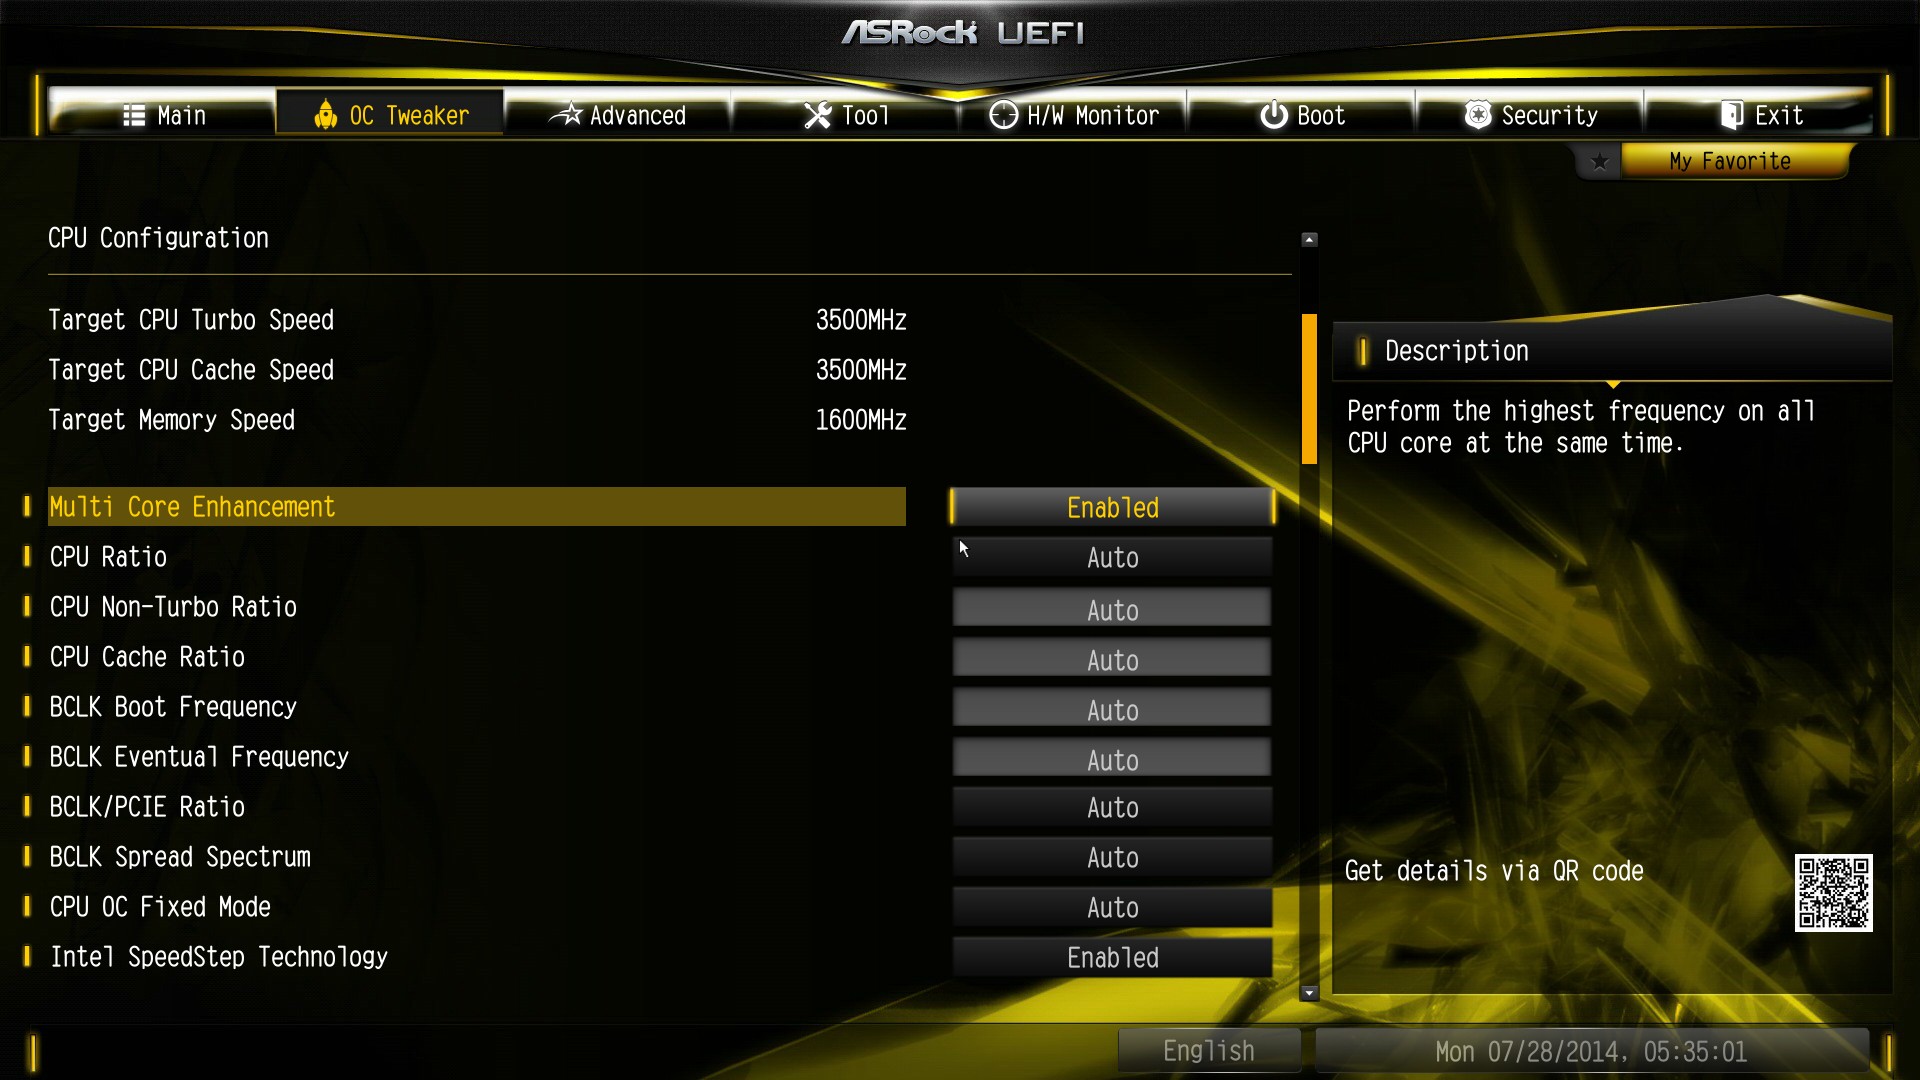
For manual overclocking, ASRock has placed all the options in one long menu. Aside from the OC Profiles at the top, next in line is the CPU Configuration with the first option being the all-important MultiCore Enhancement for a simple boost at stock.
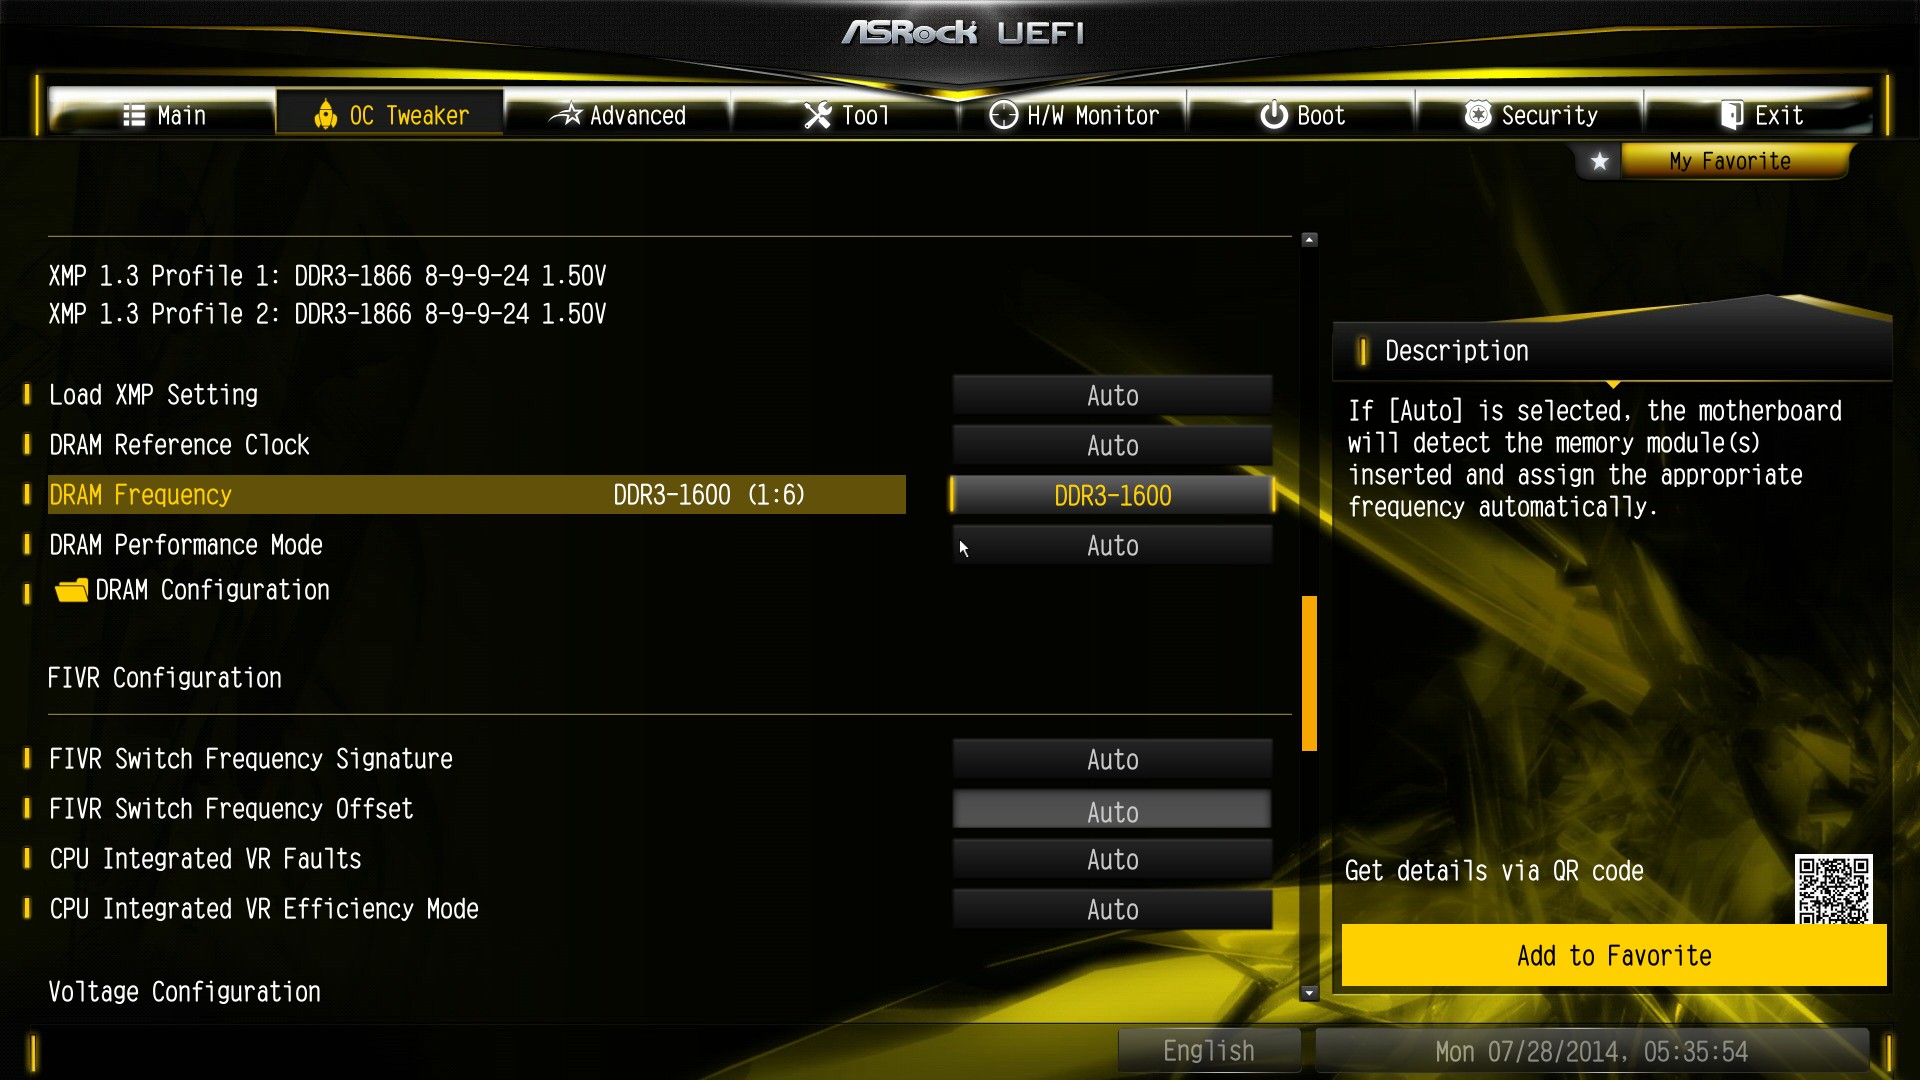
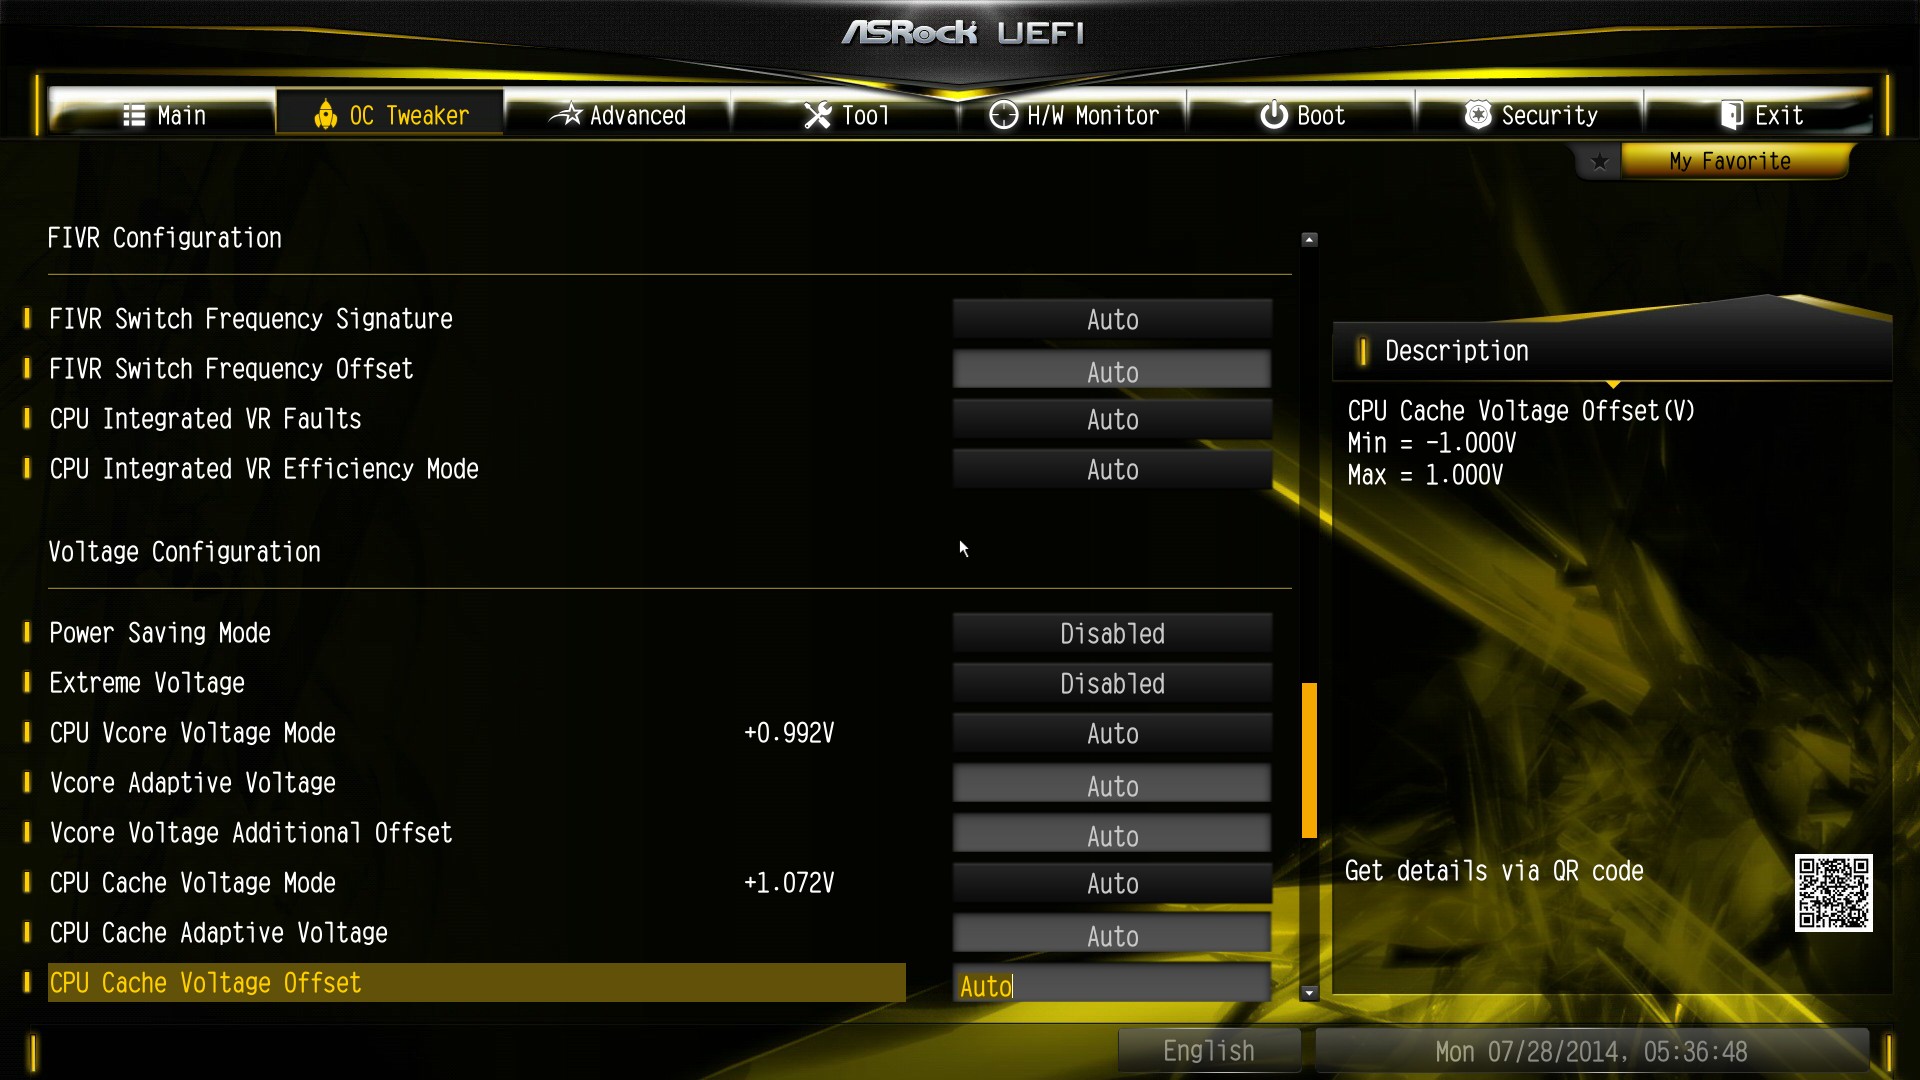
This is followed by the DRAM and FIVR settings:
Then the voltage menus:
Check the gallery below to see how extensive this list is. I understand that as an overclocking board that all these options might seem necessary, but only the 0.001% of high end users will understand most of this. ASRock needs to form these options in stages in-line with the user level of experience or competence: this is where the Simple/Advanced correlation comes in.
ASRock’s overclockers are proud of the DRAM overclocking abilities, and hence the DRAM options in the BIOS are also extensive.
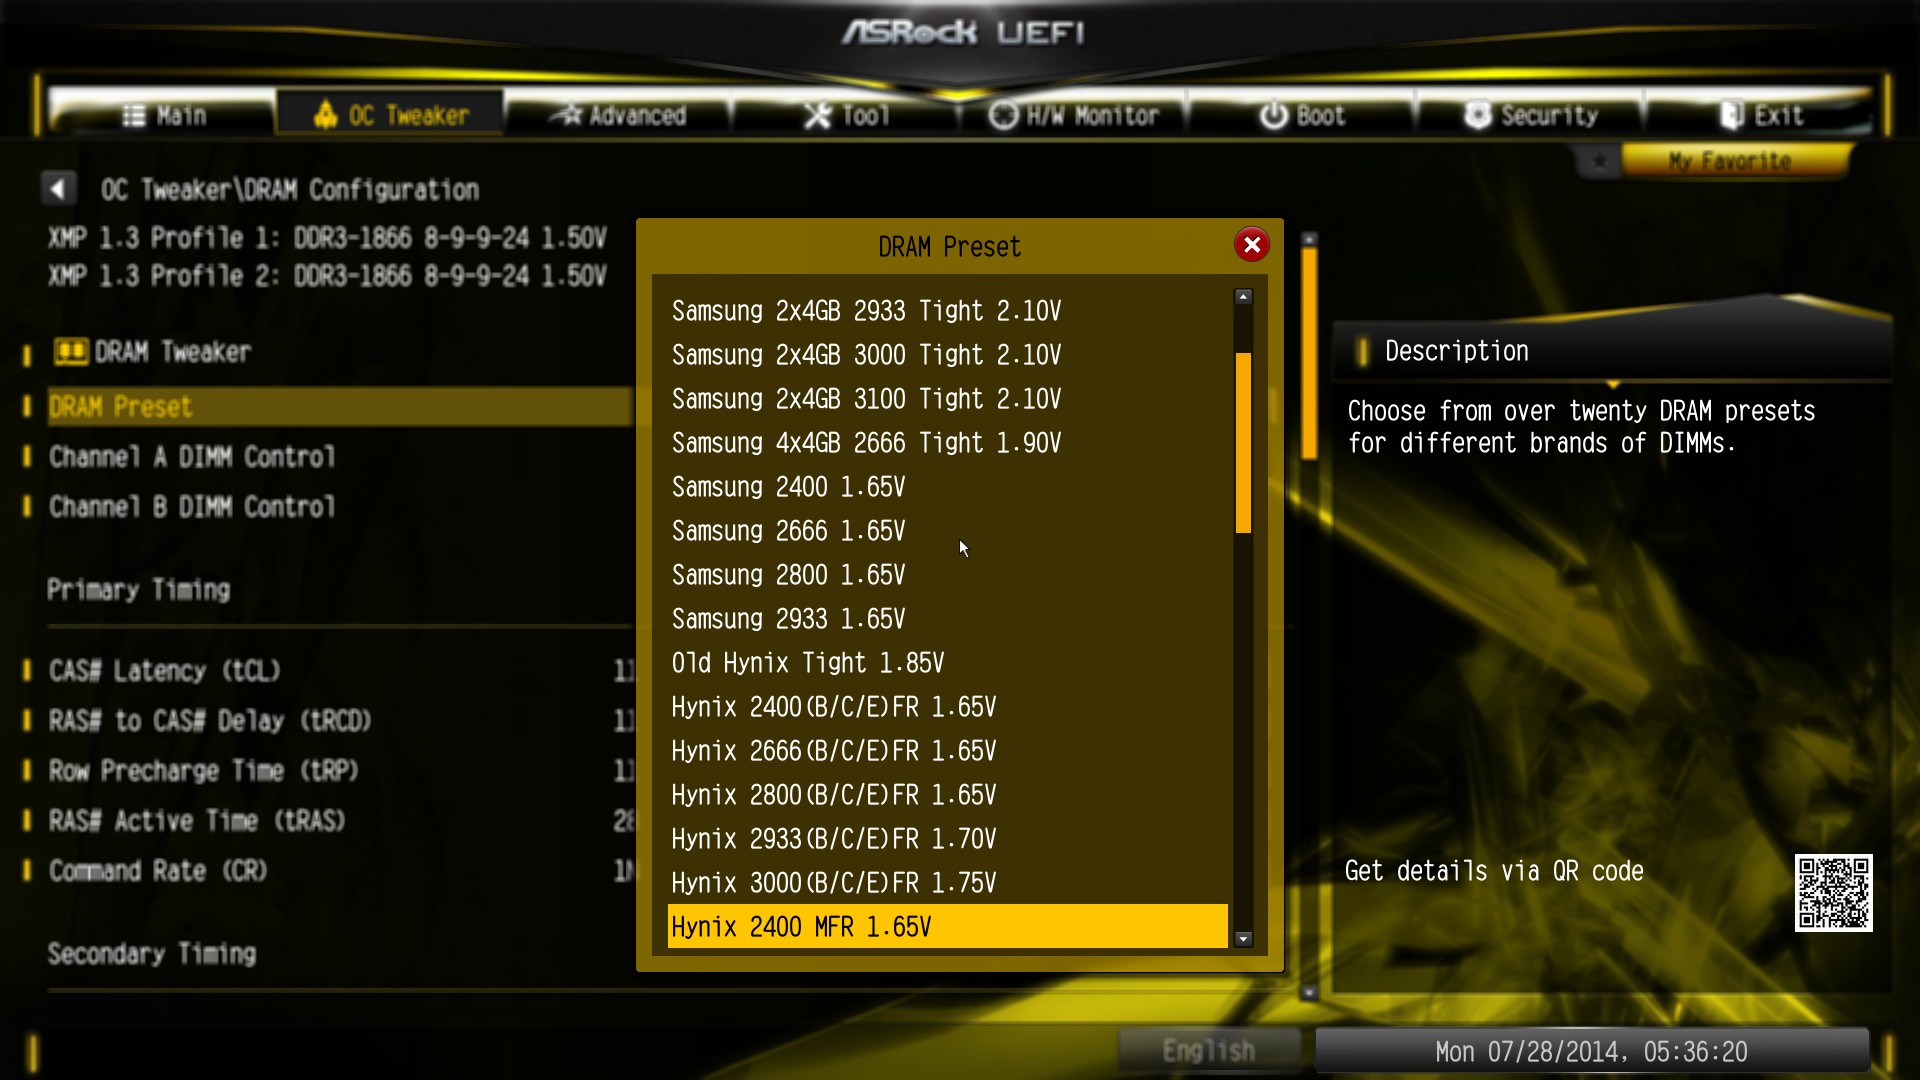
In the DRAM Configuration menu there are a series of DRAM presets for a variety of high-end memory kits that extreme overclockers might purchase. From the image above, here we have 15 different options and this constitutes less than a quarter of the scroll bar. Other manufacturers end up doing something similar, aiming to help extreme overclockers get records on their motherboards because it all mounts up to extra publicity if a major record is broken.
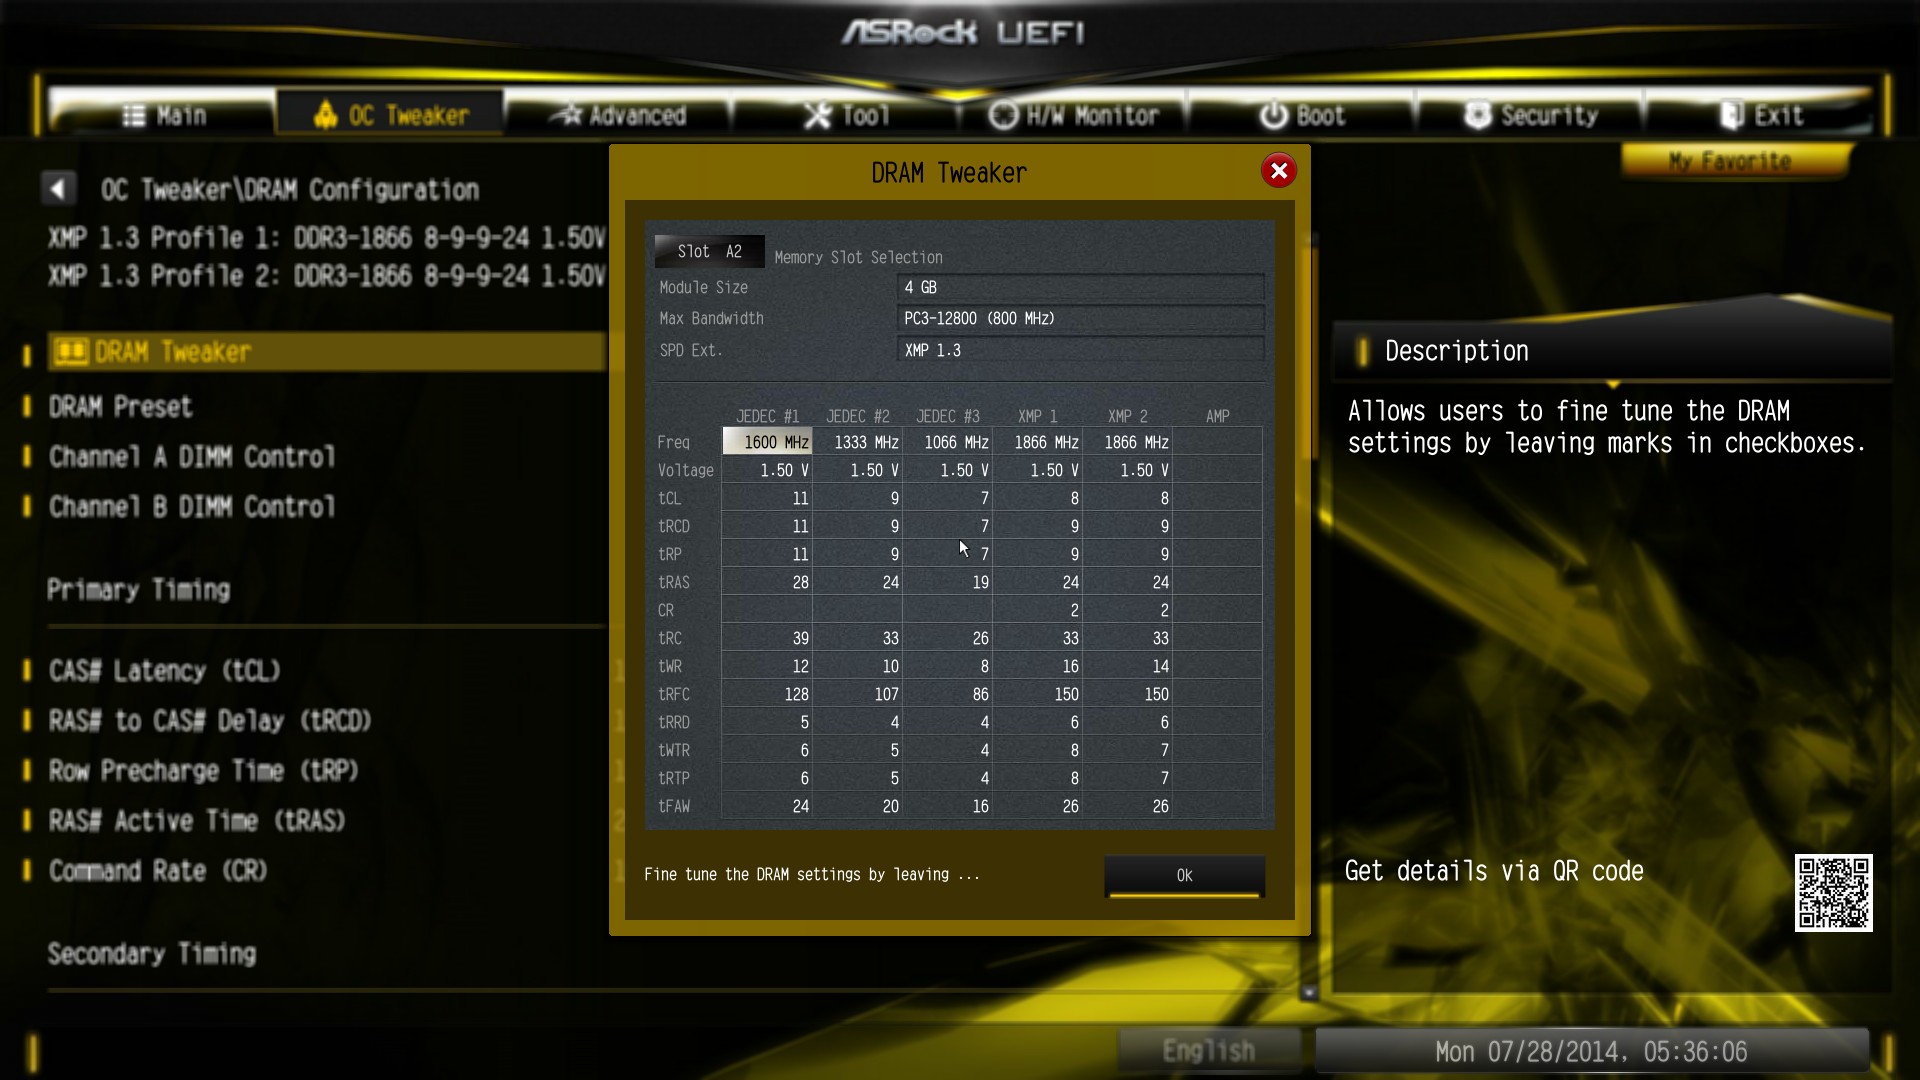
The OC Formula BIOS also has the DRAM Tweaker, showing the JEDEC and XMP settings detected for each module and allowing the user to check against certain values.
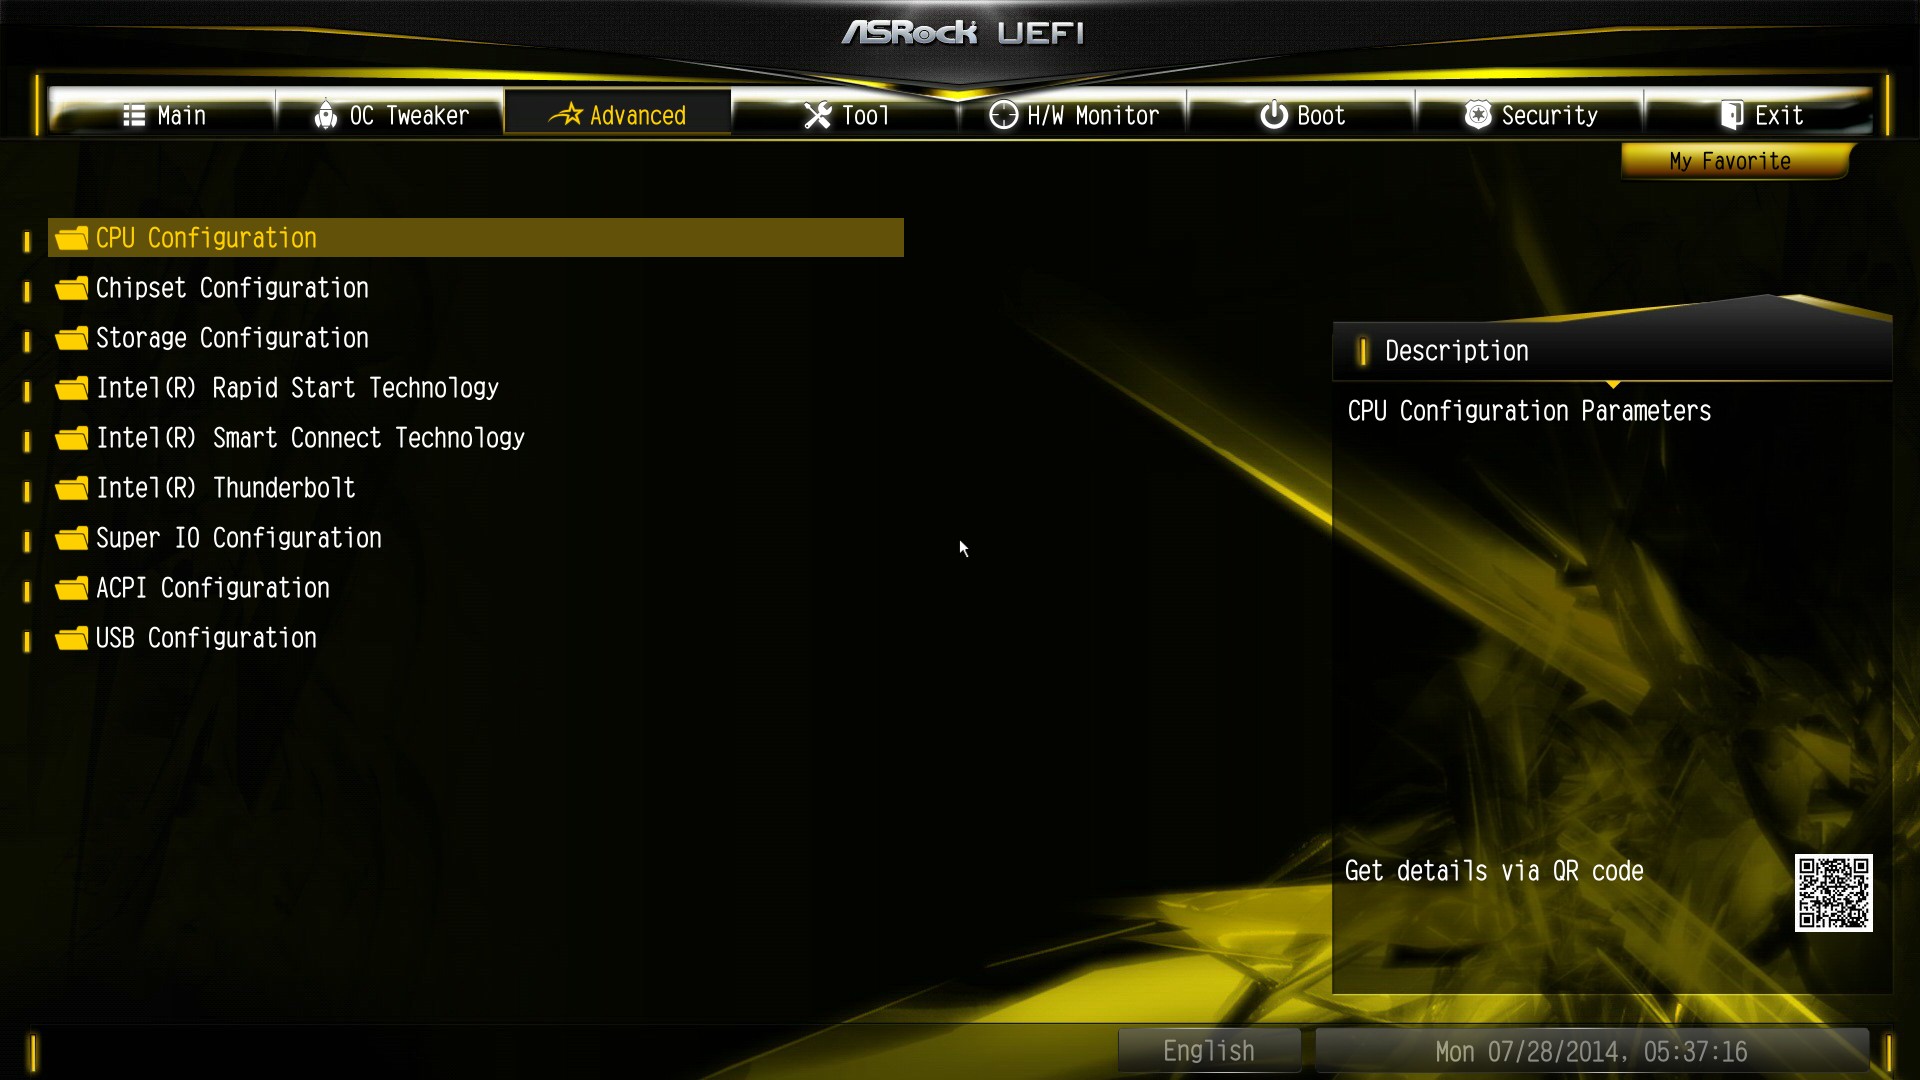
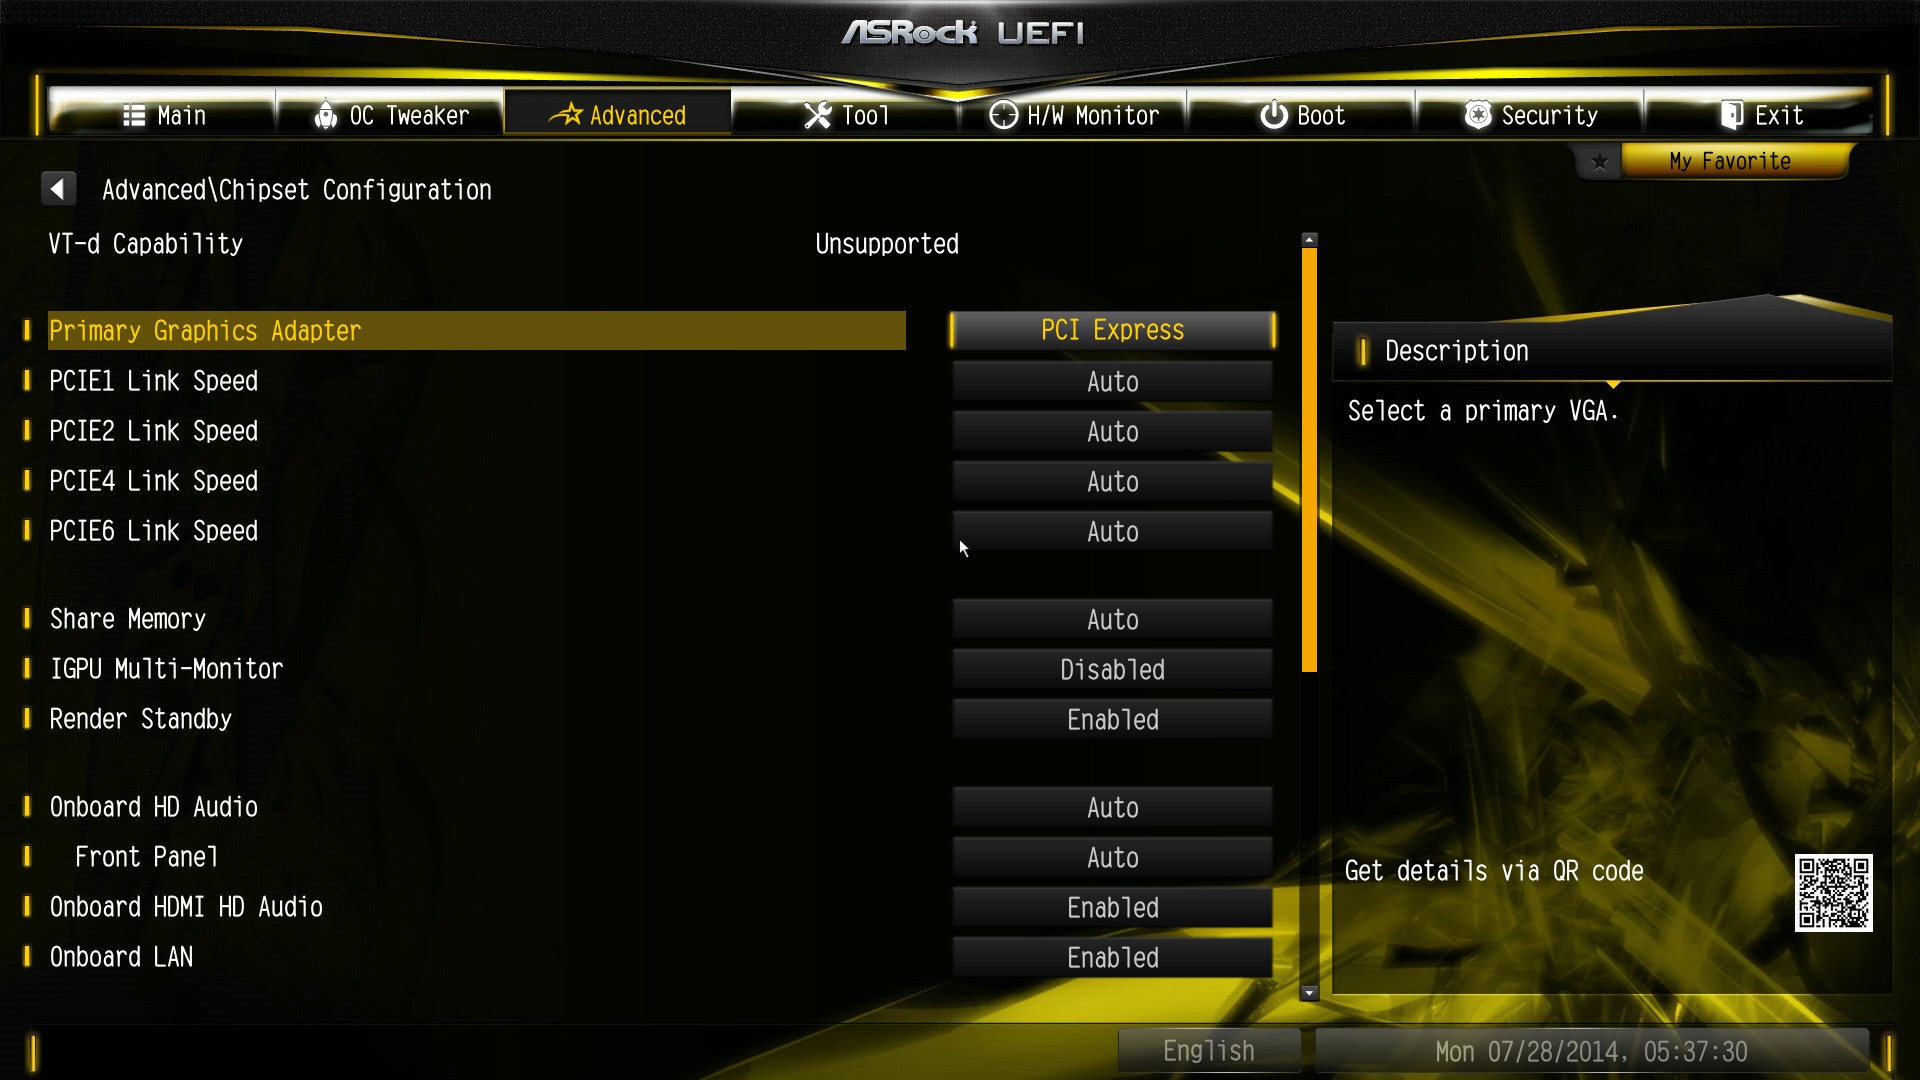
The Advanced menu contains the options for the CPU, Chipset and Storage, allowing users to adjust the power states of the CPU, which controllers are enabled or what PCIe slot should have priority for video output.
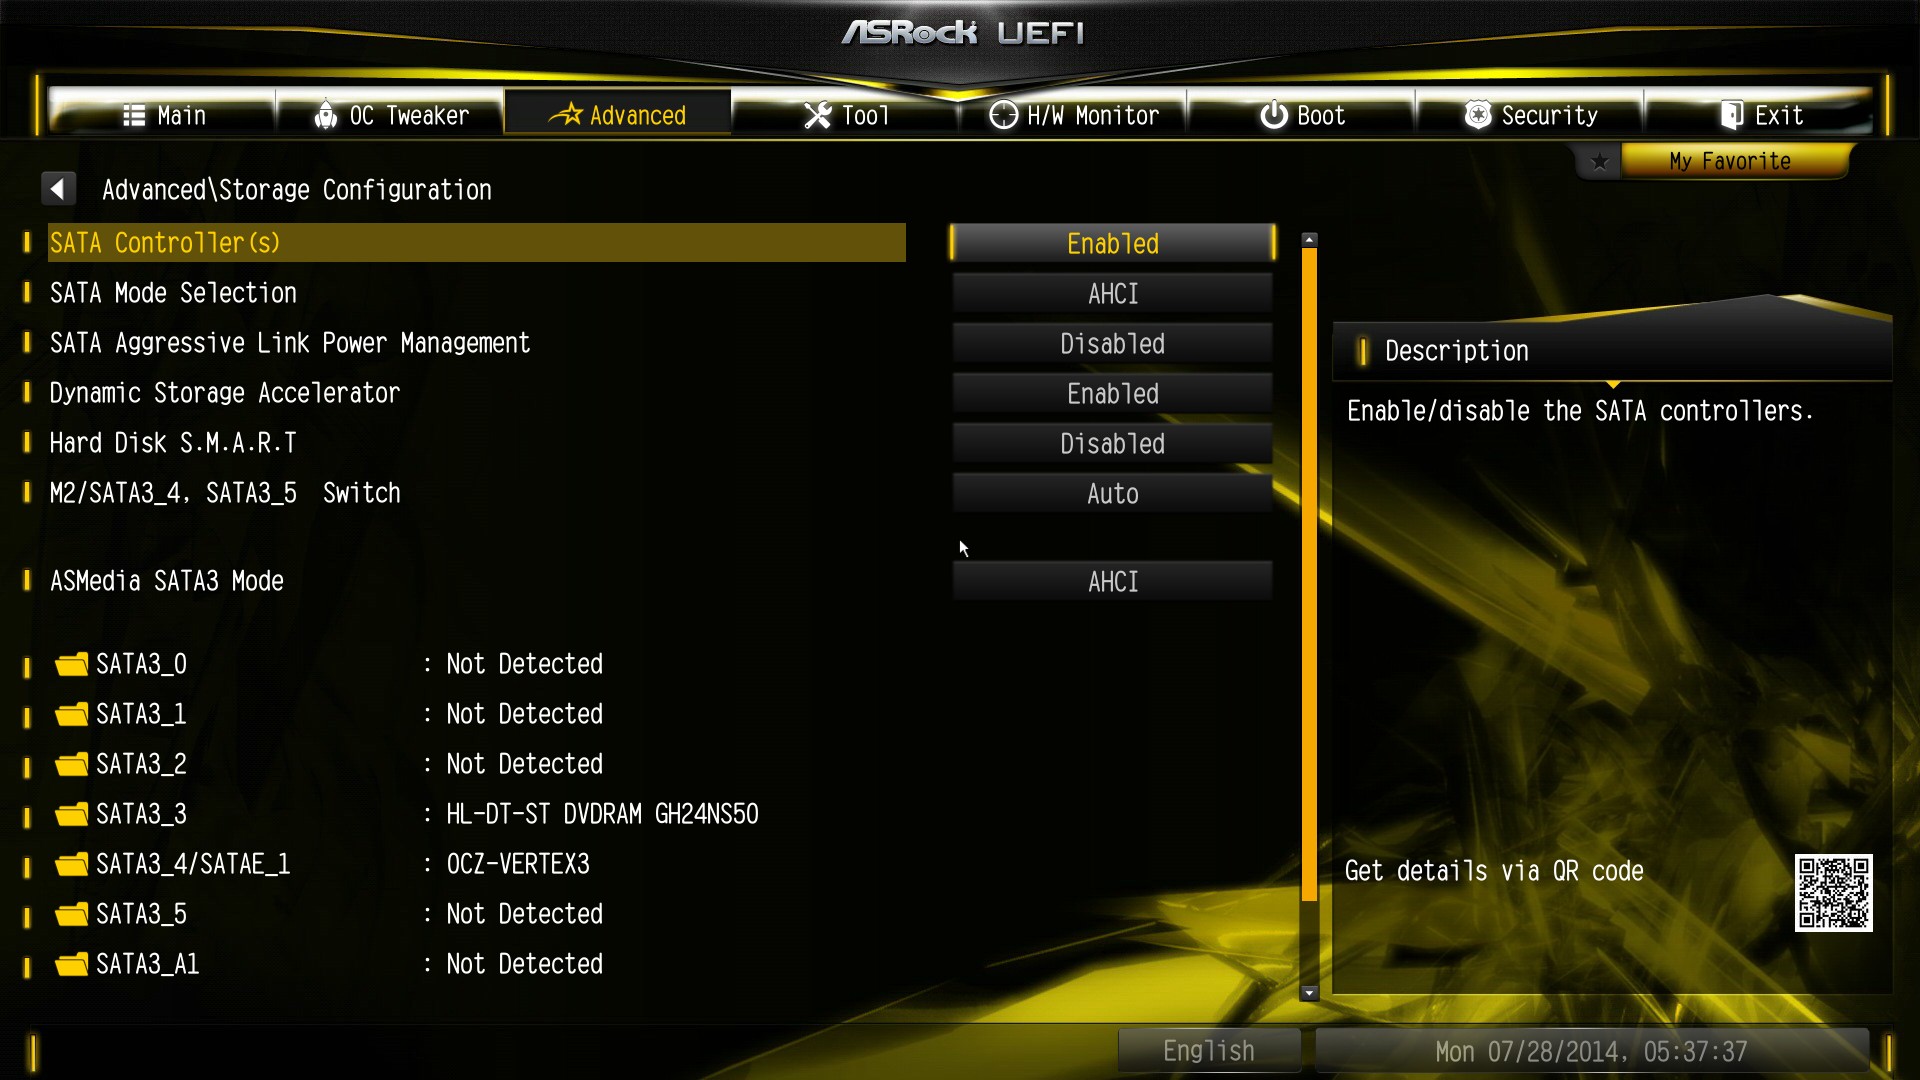
For switching between the M.2 and SATA Express ports, the option is in the Storage Configuration menu:
For the OC Formula in the BIOS we used, Rapid Start Technology and the Thunderbolt port is disabled by default, but Smart Connect Technology is enabled.
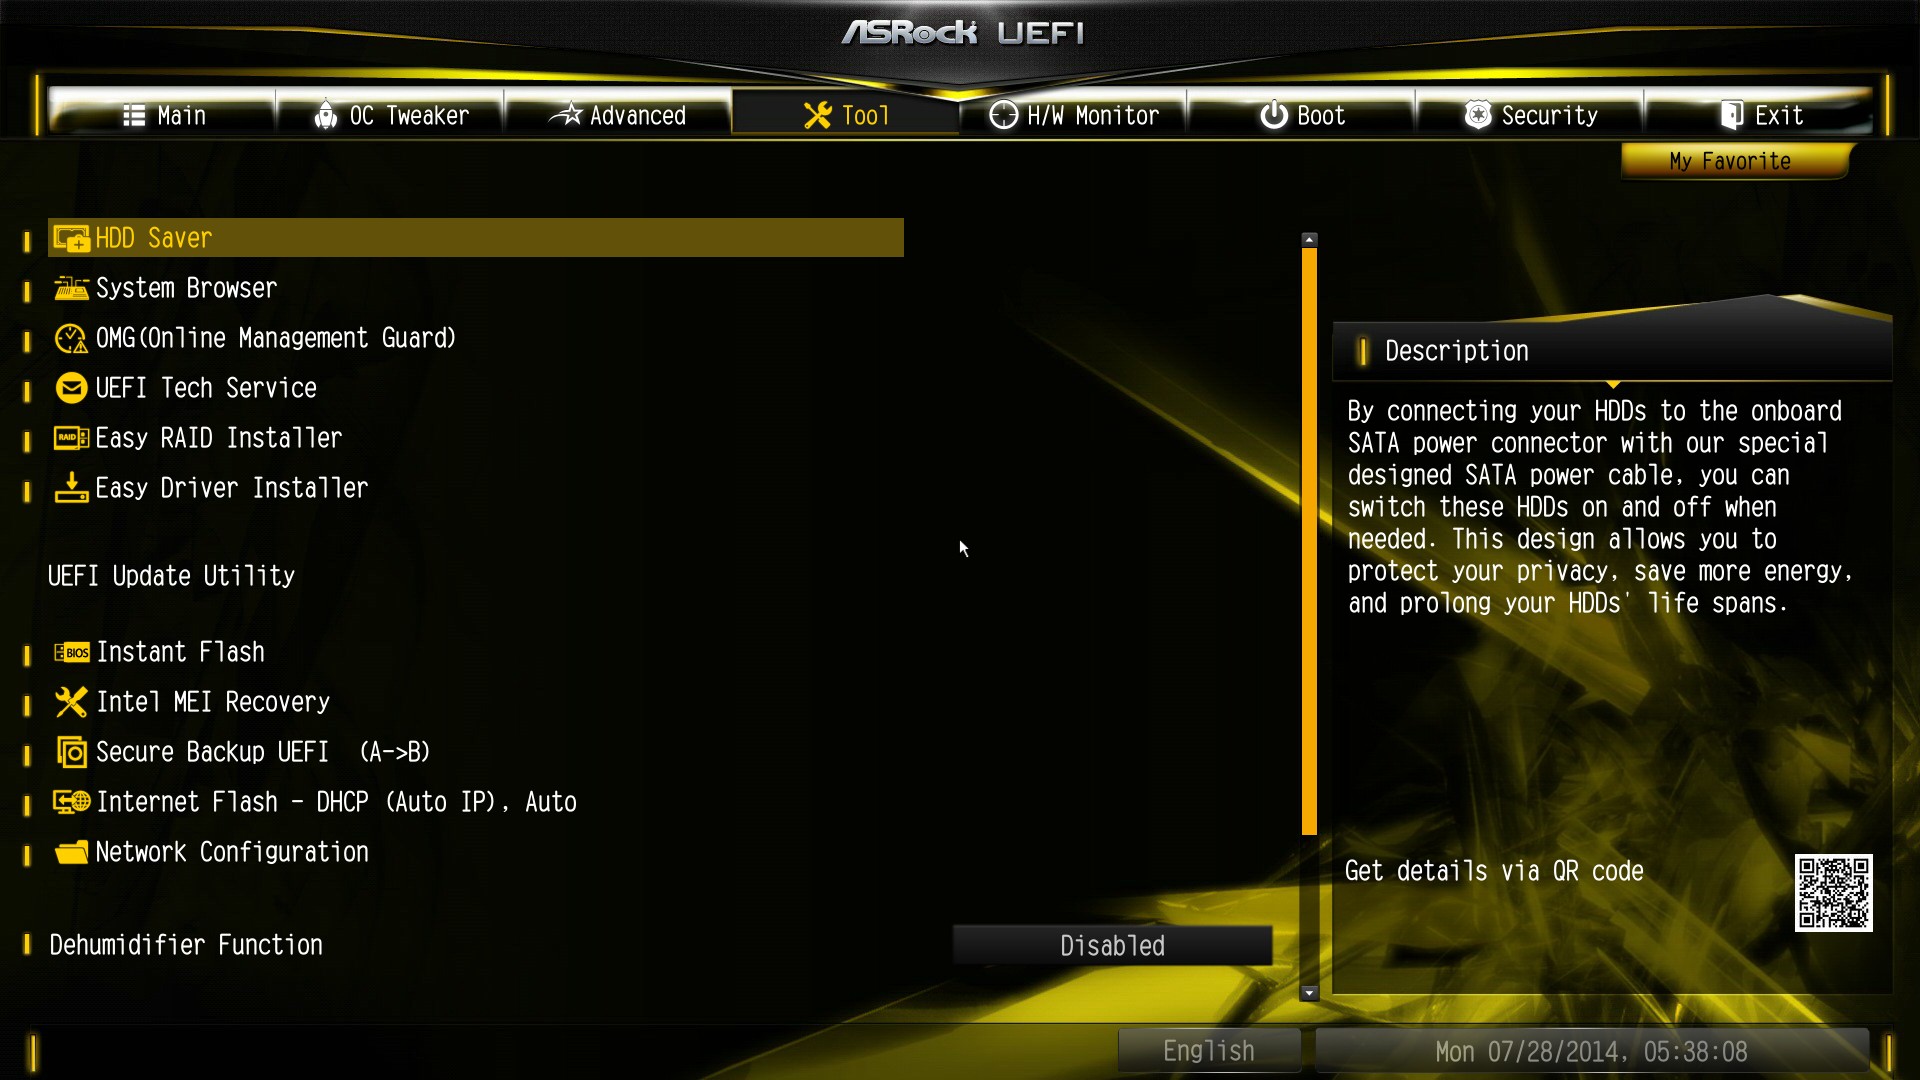
ASRock has historically been a little wild in thinking of new ideas for their motherboards, and these ideas have coalesced in the Tools menu. At the top is the new HDD Saver option which allows users to connect two SATA devices and control the power to them. This allows the user to disable the drives when not in use, extending longevity and protecting them against data-loss based viruses. The HDD Saver option is disabled by default.
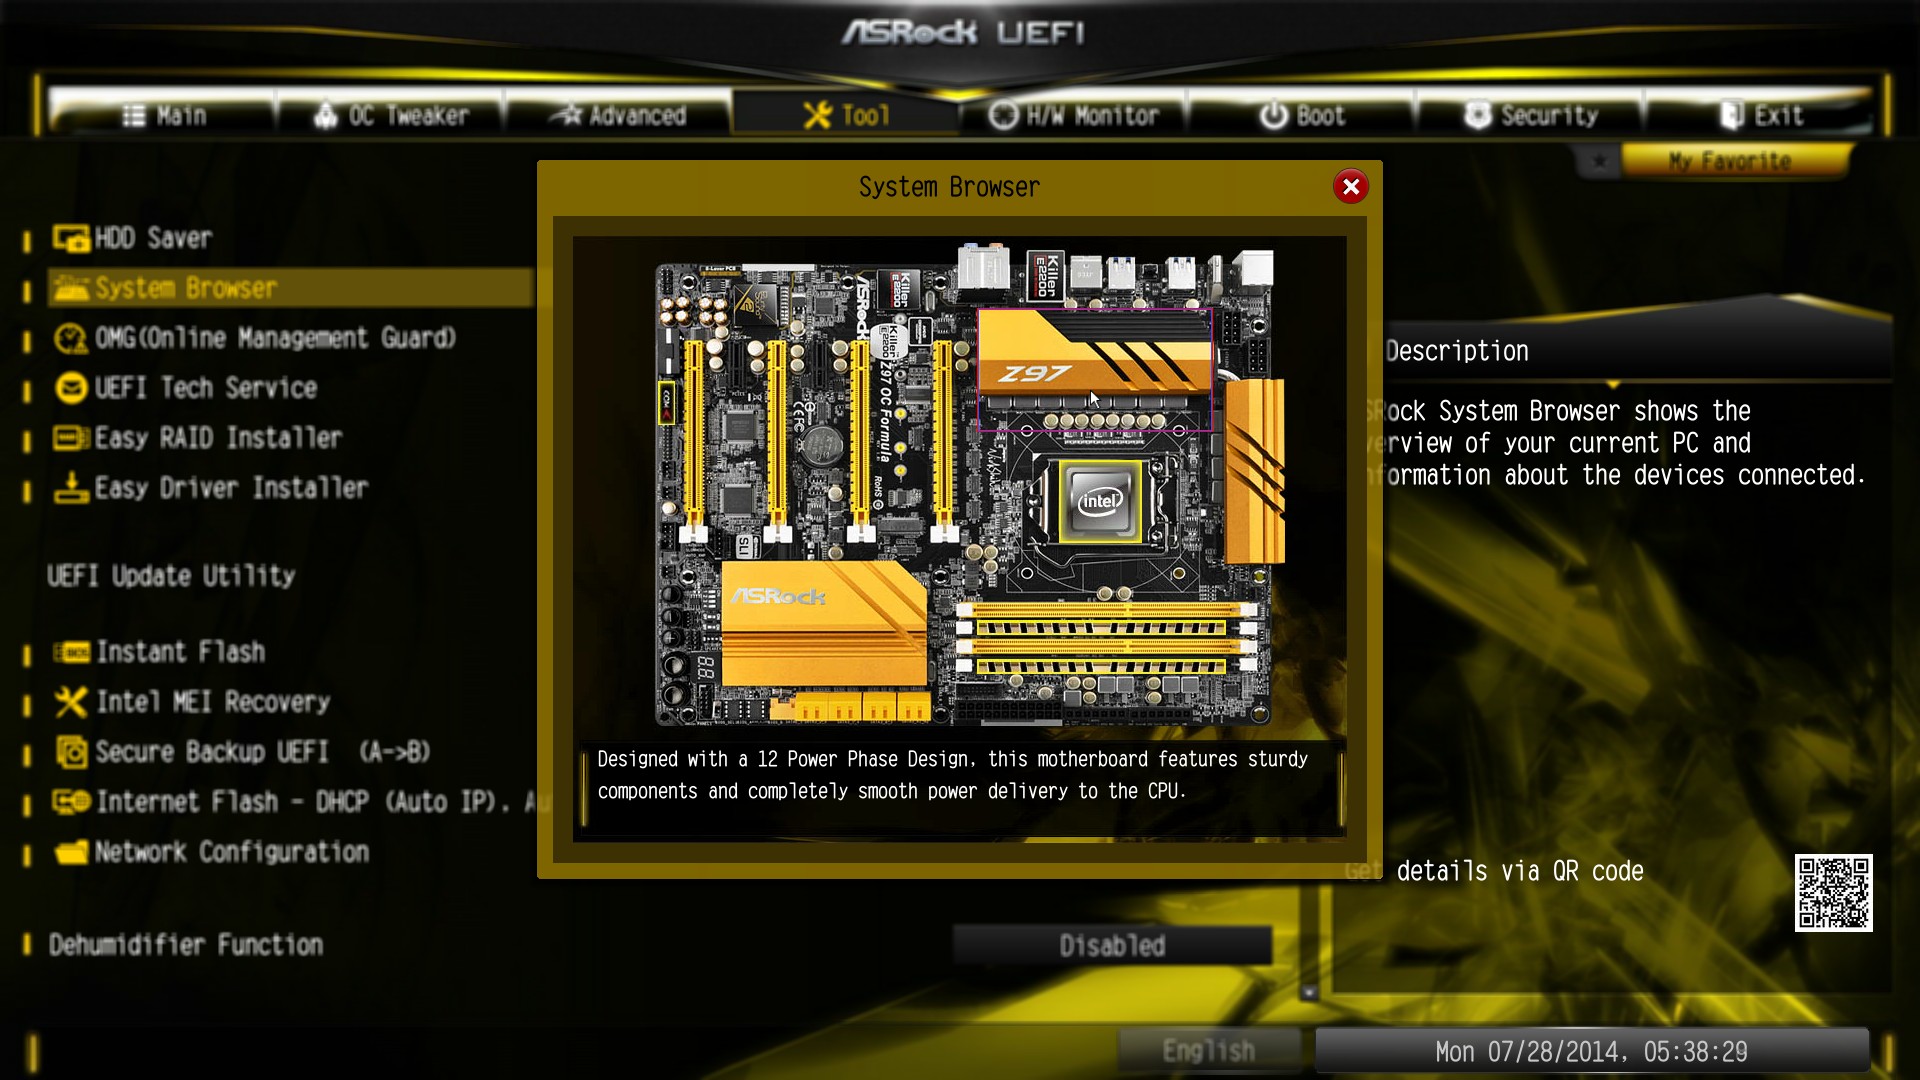
The System Browser is also here, showing the user where devices are installed into the motherboard. This is useful if the user does not have direct access to the system but one of the PCIe devices, SATA devices or DRAM sticks has failed – this image will let them know which one is the culprit.
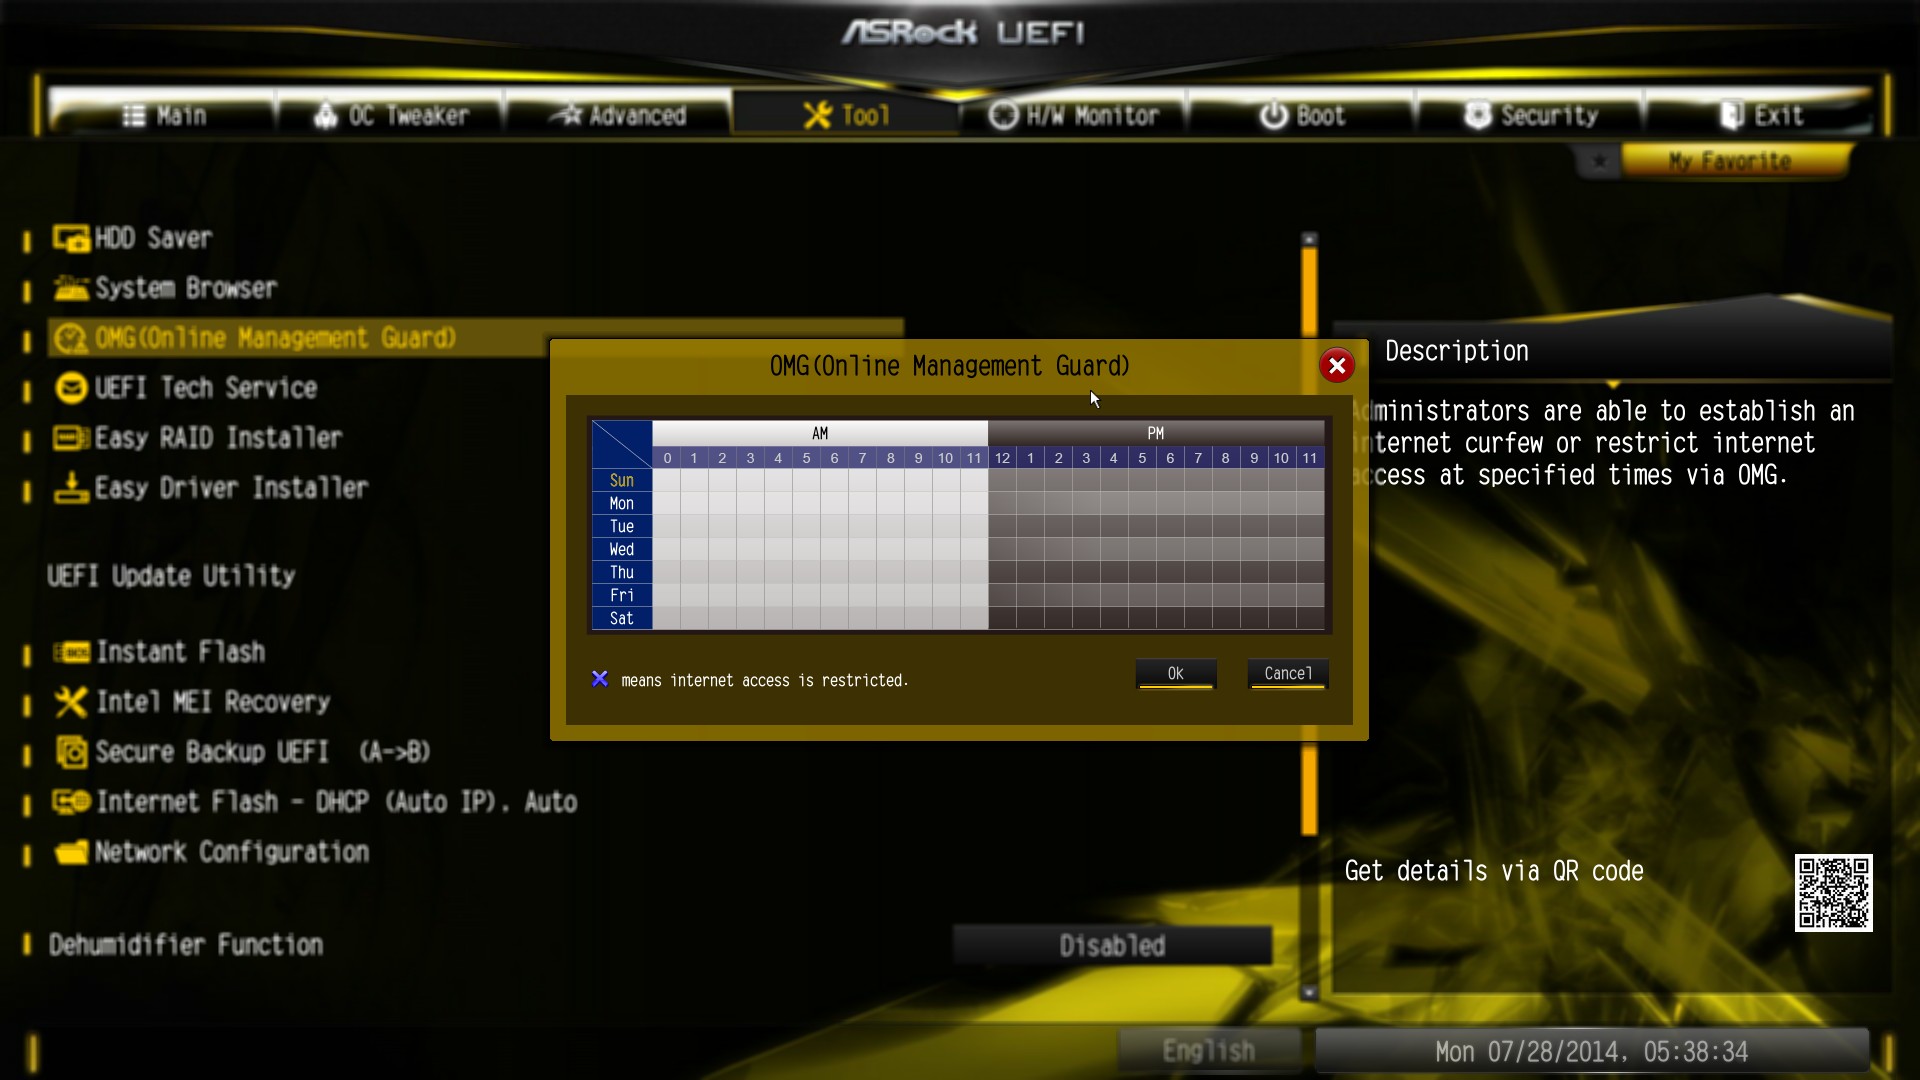
Online Management Guard is a tool to disable the network ports at certain times of the day. The primary use for this is if an adult is building a PC for someone else in the family but wants to restrict their time on the internet.
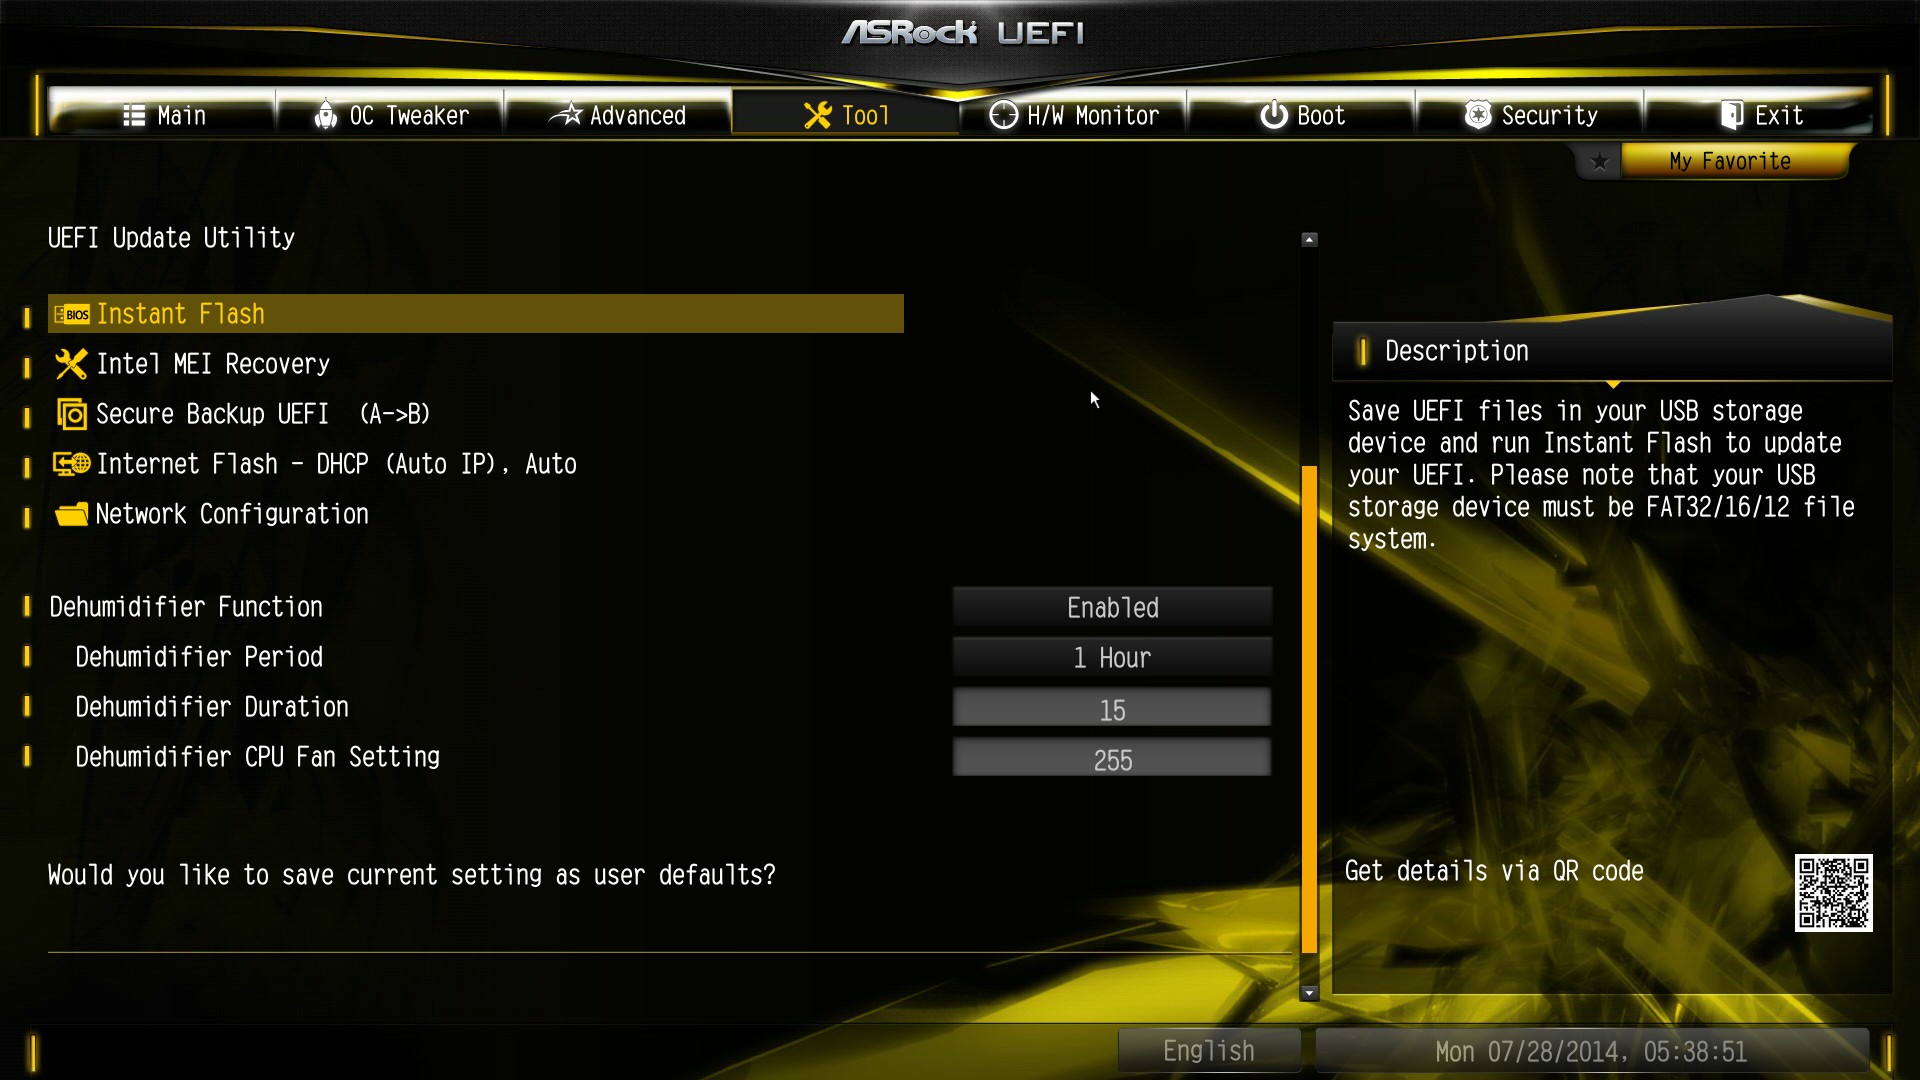
The Dehumidifier Function is also here, allowing the fans in the motherboard to spin up after the system has been put to sleep to let the temperature inside and outside the case equalize. This might help in humid climates to reduce condensation inside the case as the temperature drops – the hot air in the case while the system is running can hold more water than the air outside the case, and thus by removing that air before everything cools down, the total water content of the air inside the case is reduced.
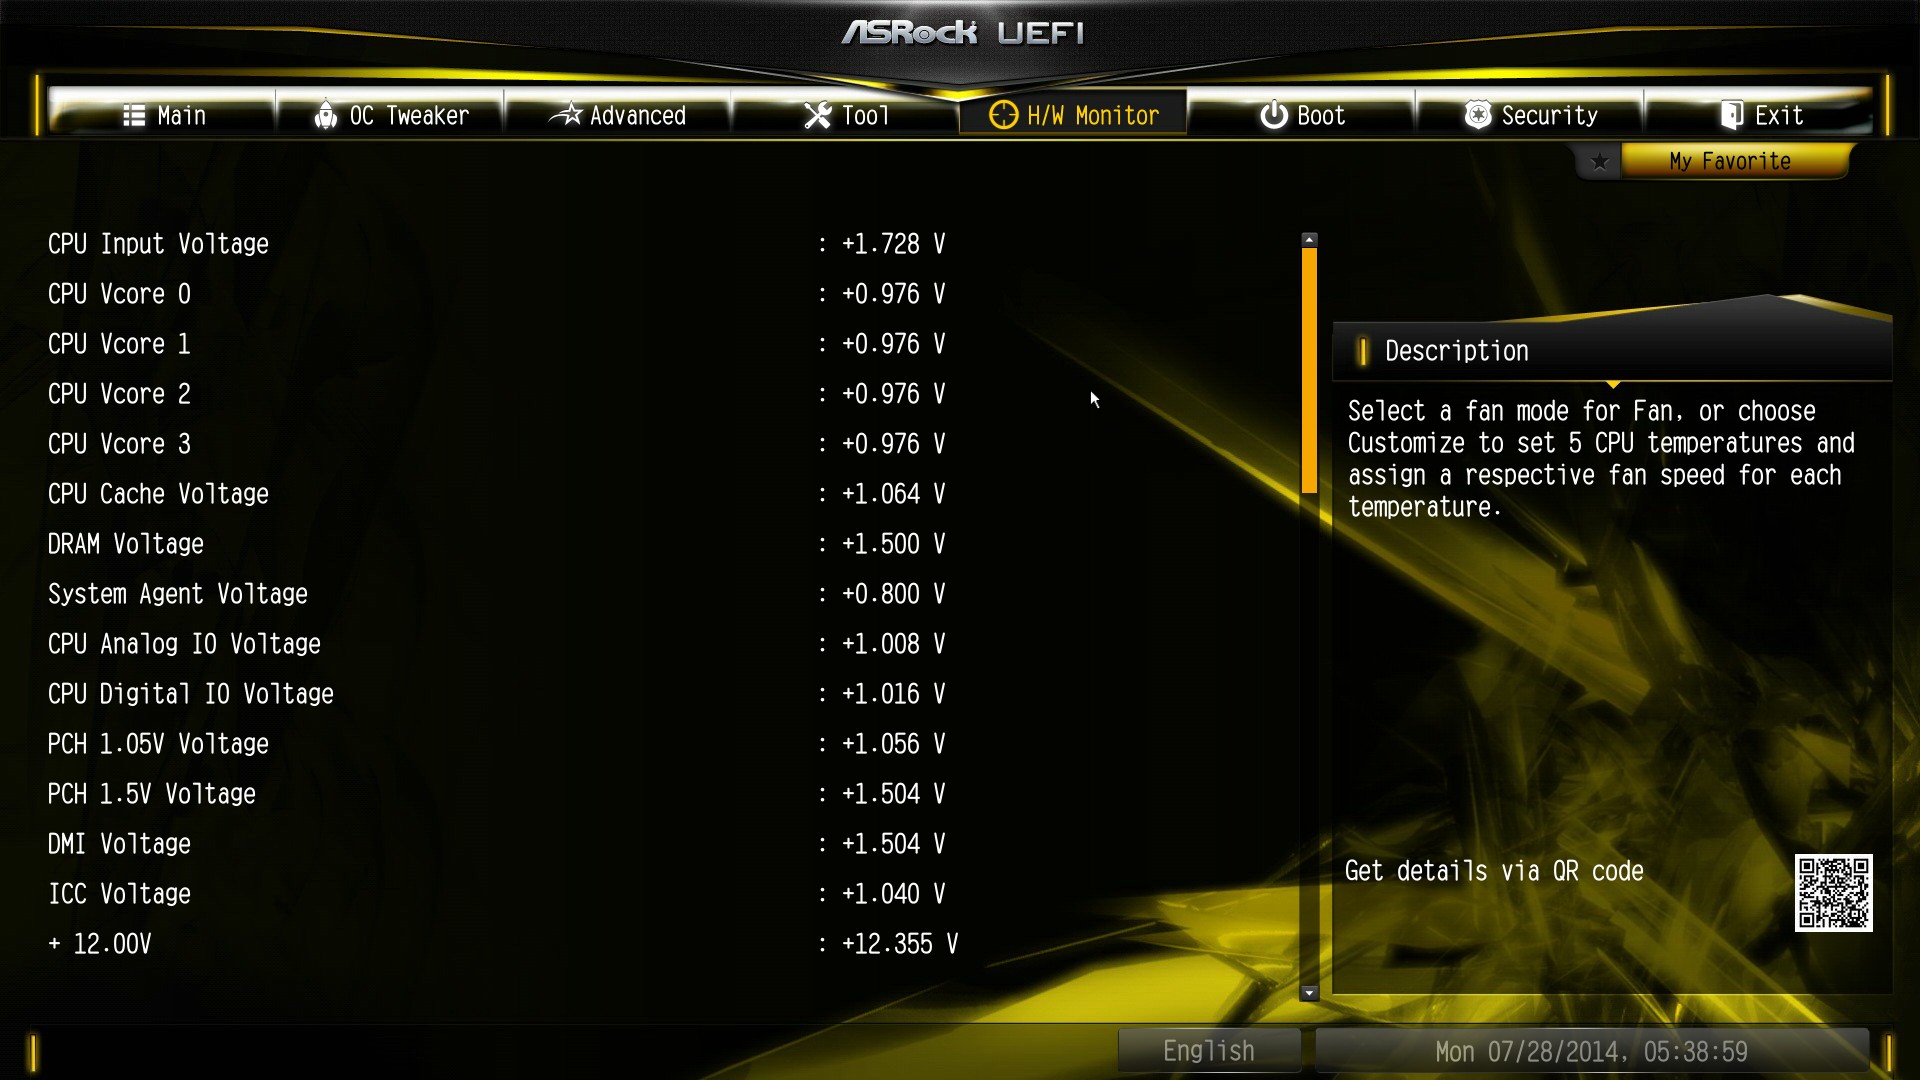
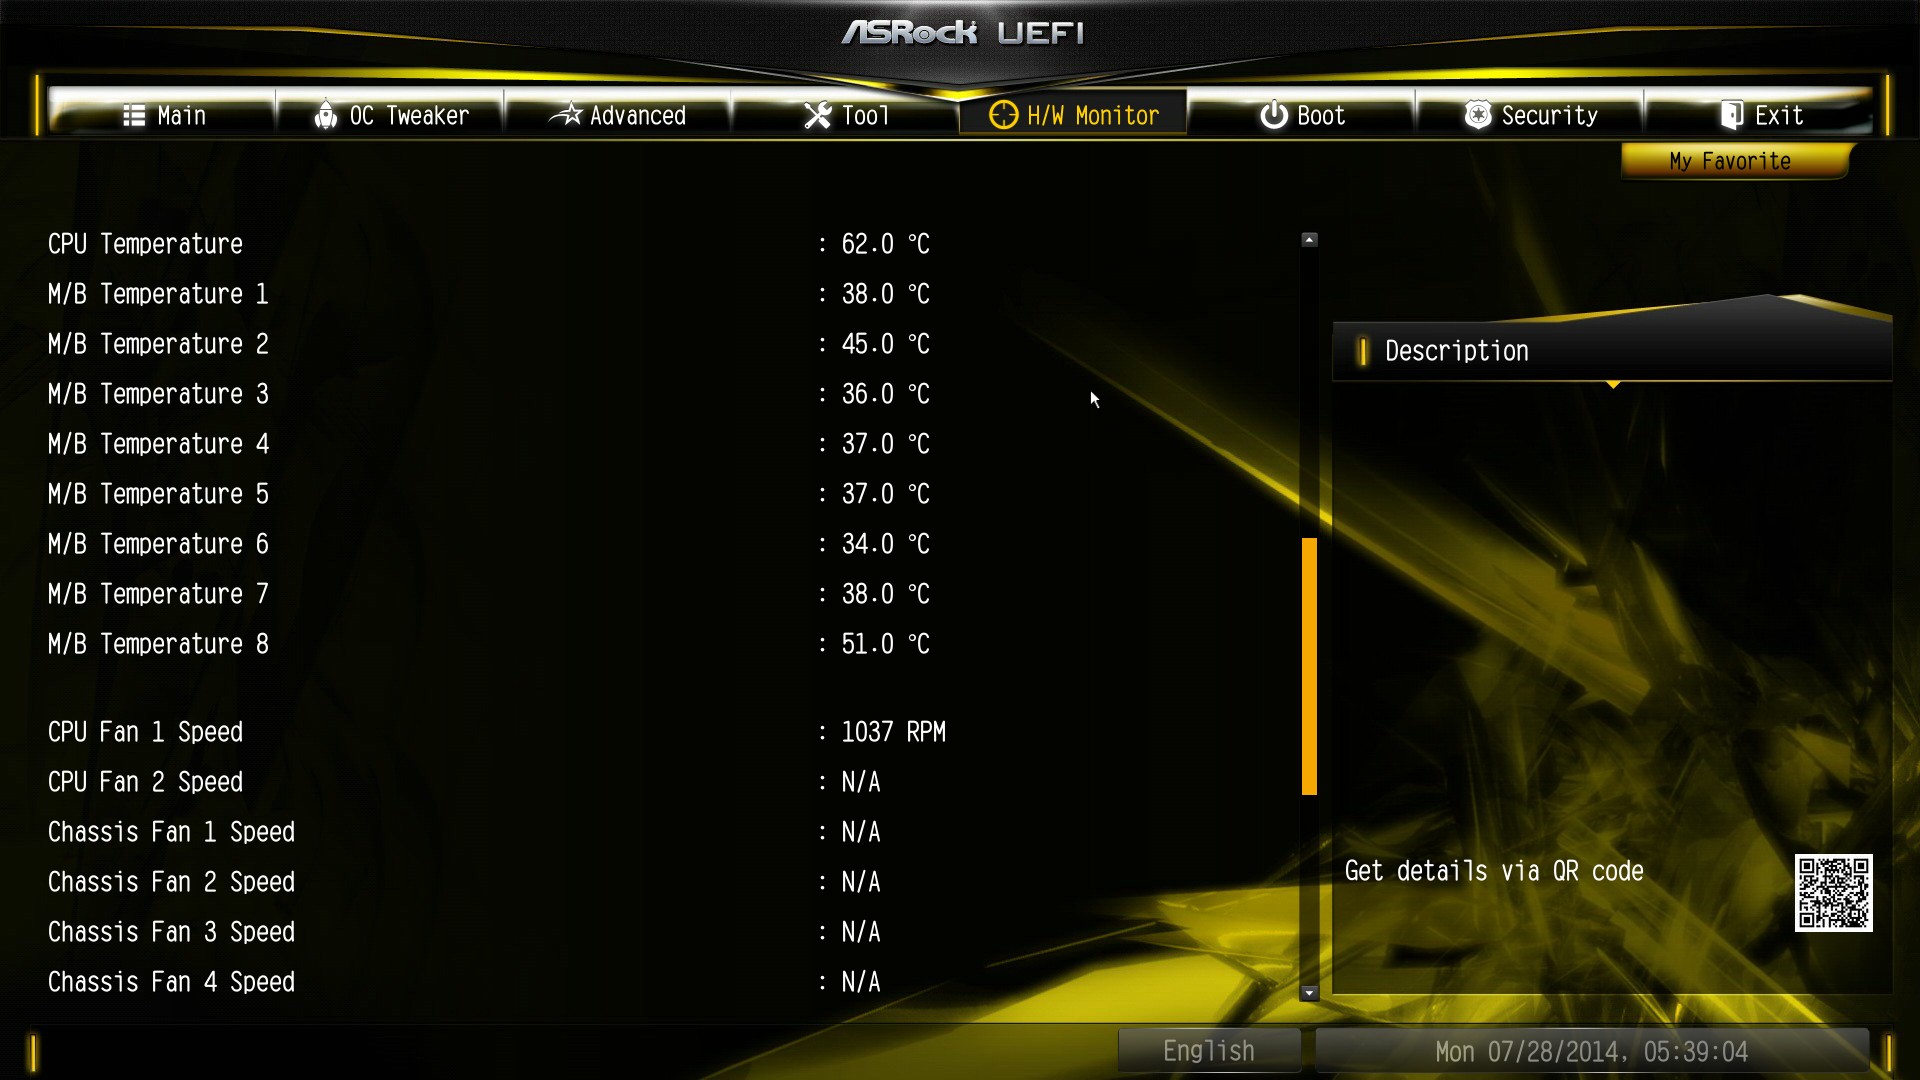
The HW Monitor tab is where we find the voltage and temperature options alongside the BIOS fan controls. Because the OC Formula is based around having plenty of data on hand, all the voltages, each of the nine temperature sensors and all seven of the fan headers are included here.
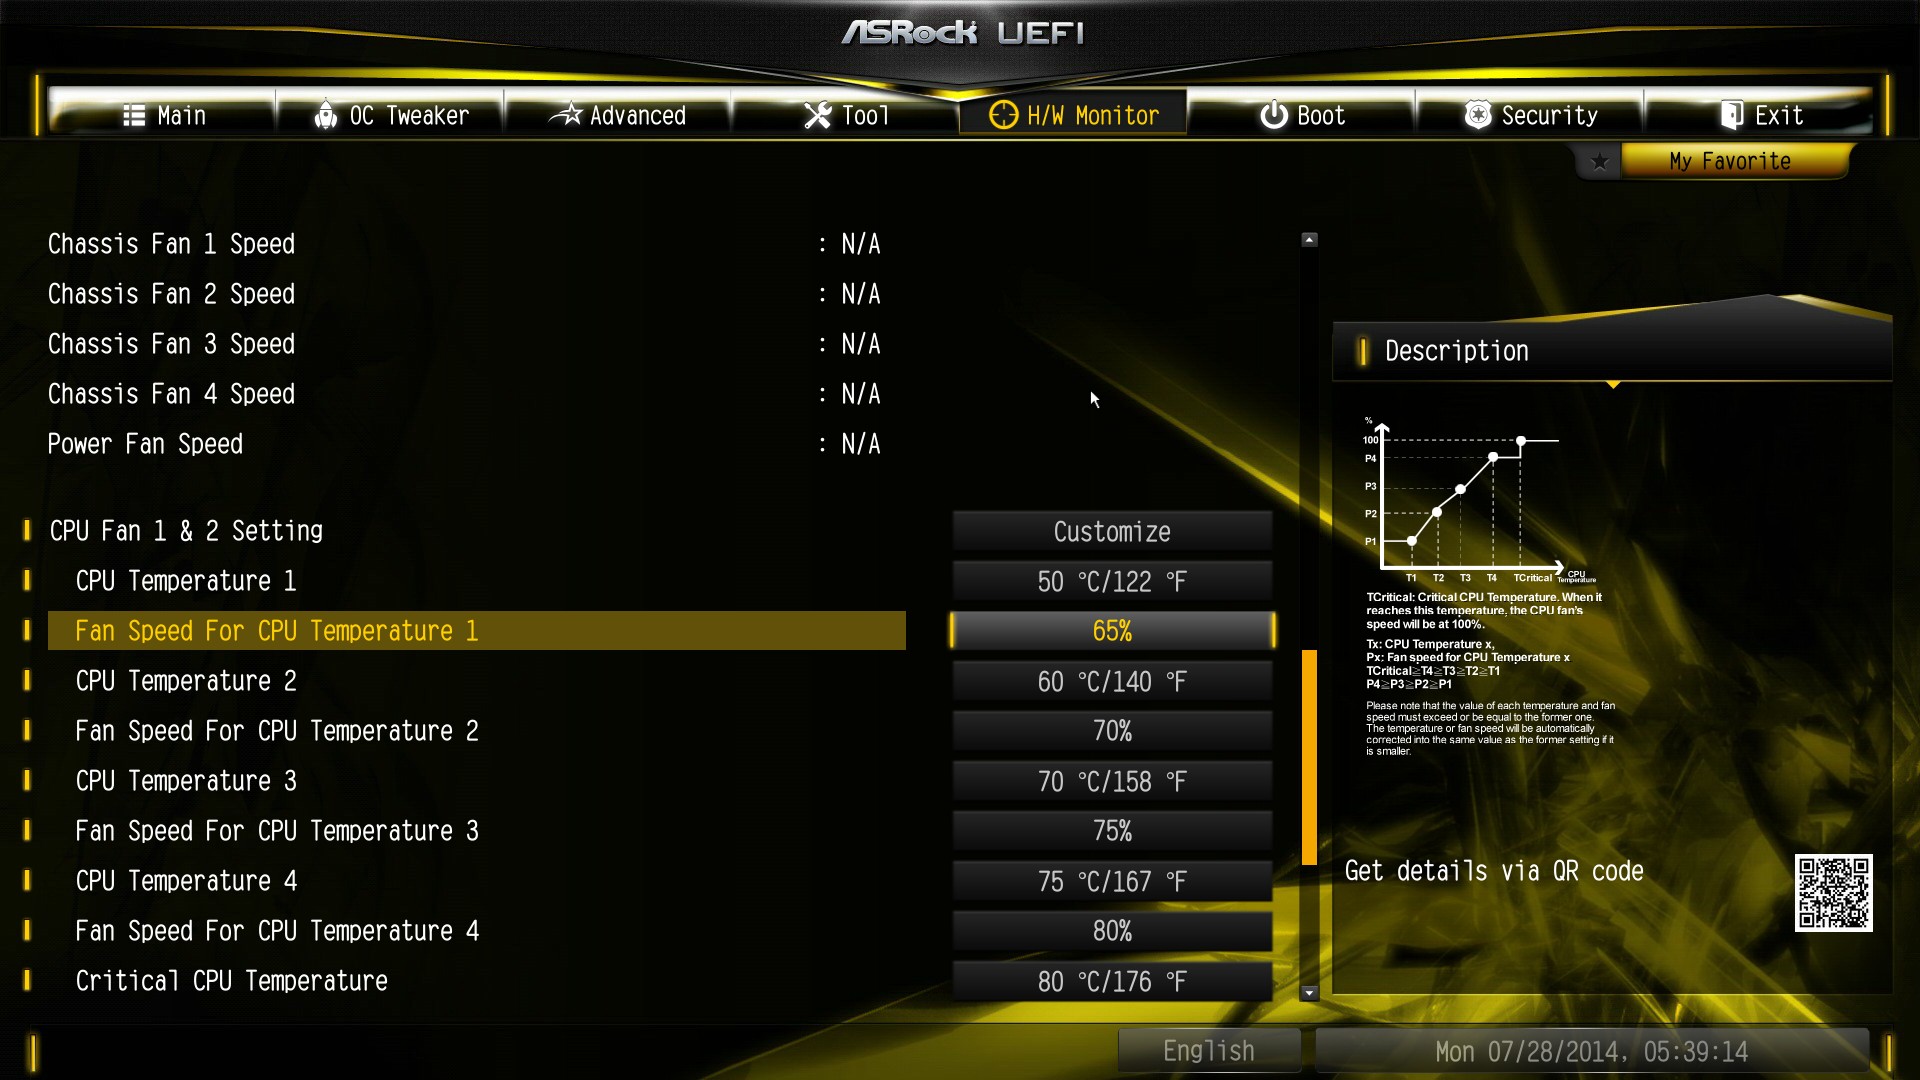
Users can adjust the fan profiles here as well, although ASRock has not integrated a user-friendly way of adjusting the fans at this time. Users can adjust a multi-point gradient by using menu options, and the graph to the right helps in interpreting the data, but something more point-and-click would be preferred.
The rest of the BIOS focuses on boot options and security. Unfortunately ASRock is still behind in implementing a Boot Override function on Z97.


21 Comments
View All Comments
dgingeri - Thursday, October 2, 2014 - link
I am very unimpressed with both the port layout and the slot layout. It's just not good. I guess for that price, there's not much to complain about, but I would pay more for a better slot layout, more USB ports, and a DisplayPort from the iGPU.zent - Thursday, October 2, 2014 - link
Did you disable 'Multi Core Enhancement' before setting the CPU Ratio on 'all core'?Kogan - Thursday, October 2, 2014 - link
I haven't seen an overclocking-per-board comparison recently. It seems that's what these boards are made for (to get higher, more stable overclocks than other boards). Or are we at a point now where the board really doesn't matter and you'll get the same stable overclocks (on air) with a $90 board?CrazyElf - Thursday, October 2, 2014 - link
Ian, would recommend this over the Gigabyte Z97X SOC Force and the MSI Z97 MPower?I like the fact that this board ships with conformal coating, and compared to the SOC Force, it does seem to have the advantage of having an M.2 slot.
The MSI board also has an M.2, but the VRM design is much weaker and probably not good for an OC board. 12x PowerPAK, a downgrade from the Z87 MPower I fear.
Otherwise, all 3 are very much OC-oriented boards that are relatively stripped down.
mfenn - Thursday, October 2, 2014 - link
Ian, I really like the use of crops of the motherboard top-down shot when pointing our various features. It adds a nice visual touch to the review.ddriver - Thursday, October 2, 2014 - link
Why AMD systems in "application" benchmarks but no AMD systems in gaming benchmarks?Looks like "we are only gonna show AMD doing 2-4 times worse than intel, but not gaming cuz AMD isn't doing that bad there"...
ddriver - Thursday, October 2, 2014 - link
And LOL, it is not all bad, gonna give you Xeon benches instead, cuz that's what people buy Xeons for...Flunk - Thursday, October 2, 2014 - link
The CPU isn't that important for gaming numbers, it's the GPU there so there isn't much point in running all those tests on even more hardware. Not only that, but AMD hardware is irrelevant in this comparison because it's a motherboard review. It only really matters how it compares to other socket 1150 Motherboards.ddriver - Thursday, October 2, 2014 - link
Either AMD is relevant or not. Why is it relevant enough to include in application benchmarks but not relevant enough to include in the gaming benchmarks? What dictates that decision? Cuz the only obvious factor is that AMD suks in apps while it is not all that bad in gaming...If anything, there are more people buying AMD systems for gaming that people buying Xeon systems for gaming, yet we have Xeon gaming benches...
poohbear - Friday, October 3, 2014 - link
1 thing to note about this mobo is that if u use more than 2 pci-e slots u must install a molex connector at the bottom of thd mobo (pointing down, so hard to get to after installing it & impossible to get to in a small case cause PSU will block it). Otherwise a solid mobo that would make a good foundation for any system.Theres not much to differentiate all the z97 mobos apart in the $200 price range, but Asrock does provide alot more options for the price compared to their competitors....